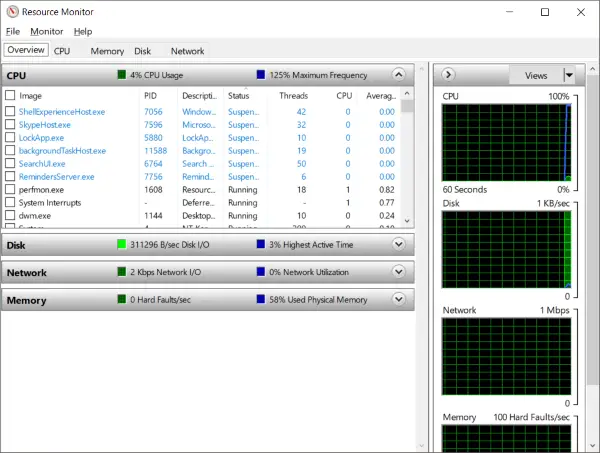
If you have been using Resource Monitor then you might know the features it offers and how it can help you efficiently monitor hardware resources of your computer. But some users have reported some problems with Resource Monitor. If Resmon or Resource Monitor is not working on your Windows 11/10/8/7 computer, then this post will help you fix the problem. You may find that the Resource Monitor is not responding or that its window is empty, blank or transparent.
Resource Monitor not working in Windows 11/10
Step 1: If you have discovered that you are not able to access Resource Monitor on your computer, then the first step towards fixing it will be running Resource Monitor manually. Hit ‘Win + R’ and type in ‘resmon.exe’ to start Resource Monitor. Alternatively, you can navigate to ‘C:\Windows\System32’ and find an executable called ‘resmon.exe’. Click on it. Step 2: If that did not work out for you, you can further carry out these steps to fix the Resource Monitor. If you are on Windows 7 and if you are using any other theme than Windows 7 Aero theme, switch back to the Aero theme and check Resource Monitor. If this fixed your problem, then you might have to switch back your themes every time you want to use Resource Monitor. Step 3: The next step in the list is changing your DPI settings. Right-click on the desktop and select ‘Display Settings’.
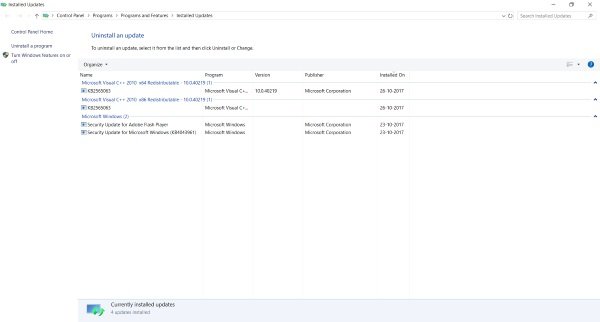
Under ‘Scale and Layout’ settings try to adjust the percentage and check if the problem with Resource Monitor has revolved or not. Step 4: If you are still stuck with this problem. You might need to troubleshoot the problem in Clean Boot State. Clean Boot is a system state when the Windows is loaded with a minimal set of drivers and services. If you can run Resource Monitor in this state, it means that there is some service or driver interfering with the Resource Monitor. Step 5: If nothing helps, try creating a new local administrator account on your Windows and check if Resource Monitor is working on the new user account. If it is, then there are chances that the problem was with your user account profile. Backup your data, delete existing account and log in to this new user account using your Microsoft credentials. Step 6: If you have recently discovered this problem with your computer and if you suspect that the problem has emerged after a recent update then you might want to uninstall recent updates from your computer.
Open ‘Settings’ and then go to ‘Update and Security’. In this section click on ‘View installed update history’. Now hit ‘Uninstall Update’ and it will open a list of recent updates that can be uninstalled. Try uninstalling recent updates and check Resource Monitor. Step 7: Now it is finally time to check if your copy of Windows has some files corrupted or not. Windows come with a built-in tool called ‘System File Checker’ that can scan your system for any corrupt files and also repair them. Run it and see if that helps. Step 8: In case SFC was not able to fix corruption on your system, you can try DISM to repair the Windows image file. Start an elevated Command Prompt window, and execute the following command: These were some of the steps that might help you out in repairing Resource Monitor on Windows 11/10. All the best!