Remove Look for an App in the Store option in Windows 11/10
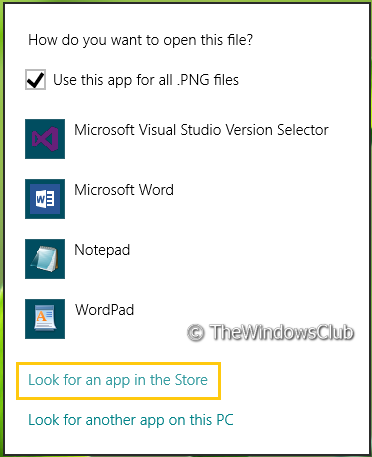
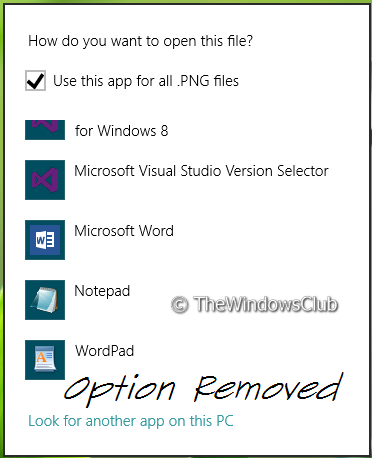
In this article, we’ll tell you two ways to remove such an option. As you can see in the image above, this prompt is displayed when you right-click on a file, and the pick up Choose default program. Here the Look for an app in the Store is of no use for many and could be removed. There are two ways to do it:
Look for an App in the Store option using Registry Editor
Press the Windows Key + R simultaneously and put regedit in Run dialog box.
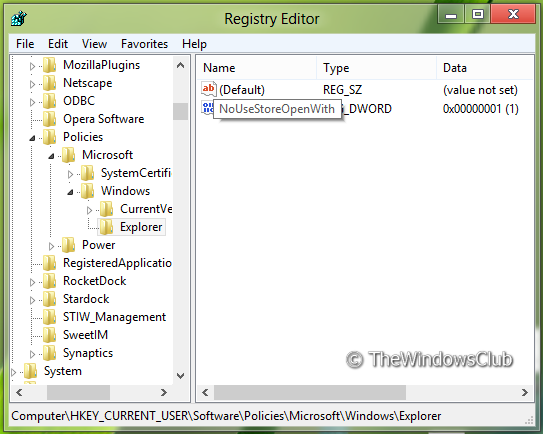
Navigate here:
Now right-click in the right pane of the window. Create a DWORD value and name it “NoUseStoreOpenWith”. Apply the same thing with the following location as well:
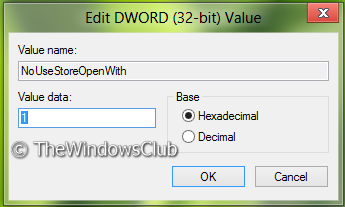
Right-click on the above-created DWORD value, select Modify. You will get this window:
Now you can use the following values for Value data section:
Display Look For An App In The Store option = ‘0’ (Default setting)Do NOT Display Look For An App In The Store option = ‘1‘
- Close Registry Editor and reboot to see results. Random read: Set different colors for the window border and the taskbar in Windows.
Look for an App in the Store option using Group Policy Editor
Press Windows Key + R combination and put gpedit.msc in Run dialog box.
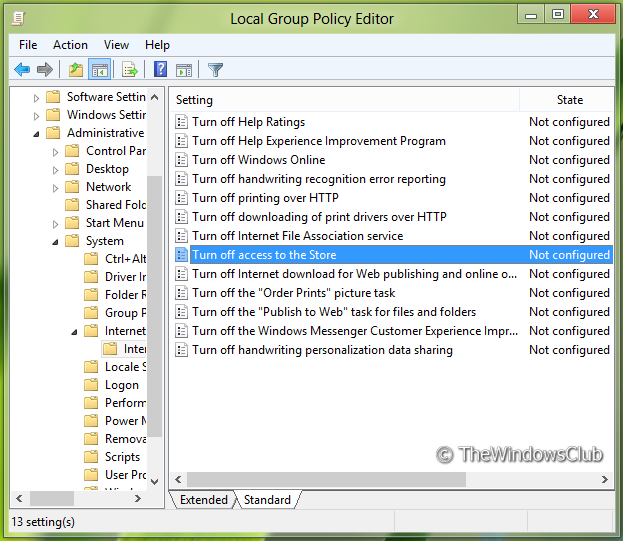
In the left pane navigate to: User Configuration -> Administrative Templates -> System -> Internet Communication Management -> Internet Communication settings.
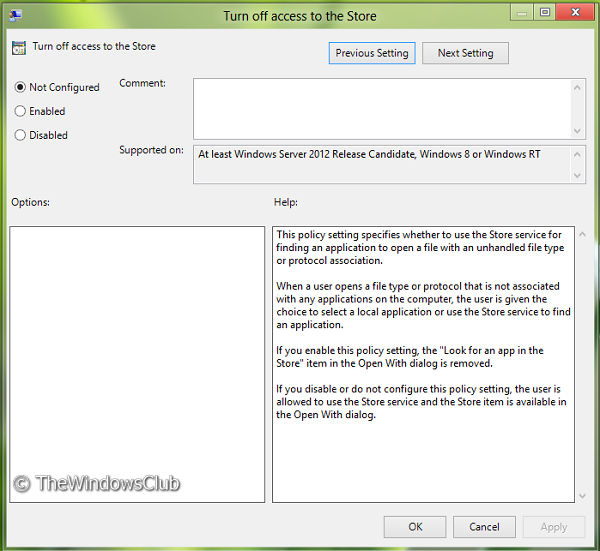
Now look in the right pane, you’ll get the policy named Turn off access to the Store as shown above.
Double click on this policy to get the window shown below.
Now you can use the following settings:
Display Look For An App In The Store option = Select Disabled or Not configured (Default Setting)Do NOT Display Look For An App In The Store option = Select Enabled
After making changes click Apply followed by OK. That’s it. Reboot to see the results. Certain editions of Windows do not include the Group Policy Editor – they can use the registry tweak or add the GPEDIT to their Home Edition.
