Quick Access in Windows is not working
If Quick Access in Windows 11/10 is broken, slow to open, not working, not showing Recent files or can’t Pin or Unpin folders, then you can reset Quick Access and follow other suggestions to resolve the issue: Let us see how to do both of these. Before you begin, create a system restore point first.
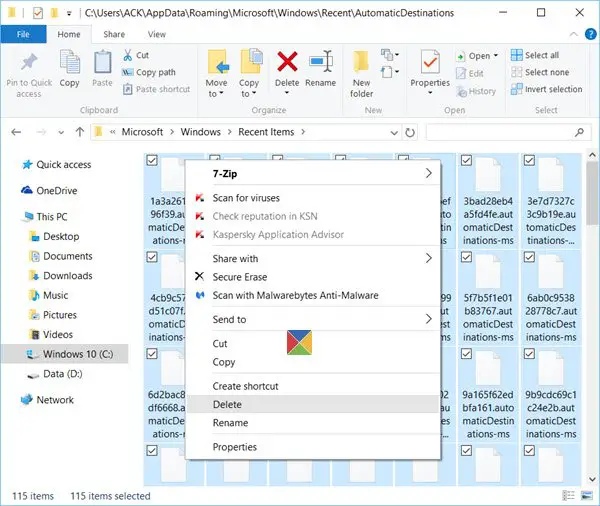
1] Clear Recent App Data in two folders
First, disable Quick Access and then re-enable it and see if it helps. If not, then open File Explorer and paste the following folder paths in the address bar and hit Enter to open Windows 10 Quick Access file locations: Once the folder is opened, press Ctrl+A to select all its contents. Now, right-click and select Delete, to delete all the files in the folder. Do the same for both the above-mentioned folders. Restart your Windows computer and see if it has helped fix the problem. This will also help you fix a broken Recent Items in Jump List problem. If this does not help, you may need to do the following.
2] Reset Windows Quick Access using Registry
If Quick Access is not working you may need to reset it using the Windows Registry: Run regedit to open the Registry Editor. Navigate to the following key: On the left pane, right-click on the item named QatItems and delete it. Exit and check. This can also help you if you cannot Pin or Unpin folders from Quick Access.
3] Delete Quick Access folders using Command Prompt
It is possible to use the Command Prompt to clear or delete Quick Access folders on Windows 11/10.
You need to open the AutomaticDestinations and CustomDestinations folders on your computer to note down the file names. Once done, follow the following steps to delete all content from those folders. Press Win+R, type cmd and press the Enter button to open the Command Prompt. Following that, you have to enter a command like this- Once done, repeat the same steps to delete all the files visible in those two folders.
4] Check if Recent files feature is turned off
Open the File Explorer Options dialogUnder the General tab, navigate to the Privacy sectionEnsure that Show recently used files in Quick access check box is selectedClick the Apply button.
5] Disable & Enable Quick Access
Open the File Explorer Options dialogOpen the General tabChange Open File Explorer to This PC from the drop-down menu & click Apply to disable Quick AccessThen change it back to Quick access to enable Quick Access and click Apply.
6] Clear Quick Access History
Open General tab > Privacy sectionClick on the Clear button to delete Quick Access history.Now open any file and see if the entry is visible in the Recent files section.
This post will show you how to Reset the File Explorer Quick Access Toolbar.