The application justifies the tagline given by its developers – “Your life will be easier than it was ever before” as it carries various advantages when compared to the traditional Windows Task manager.
Process Manager for Windows PC
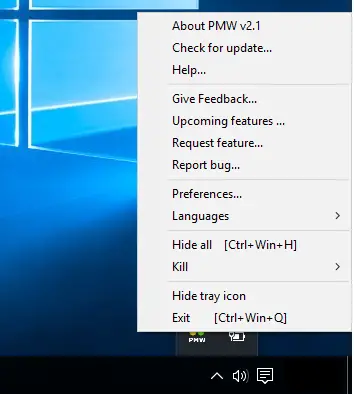
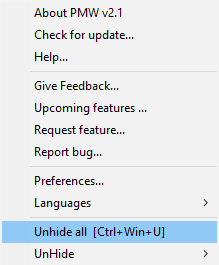
The setup file is less than 500 KB, and it does not take more than 1 minute to complete the installation. However, the application does require .NET Framework to be pre-installed on the PC for the installation to complete; else it prompts users to install the same. After installation, click on the Process Manager icon from System Tray to open the main software window as shown below.
Here is the list of important features of Process Manager:
1] Kill option for killing programs
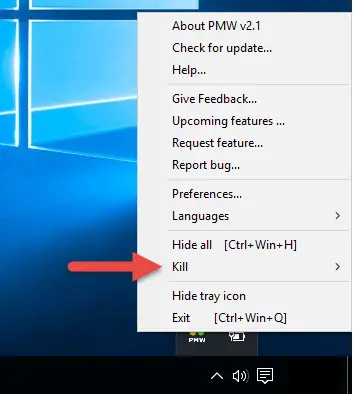
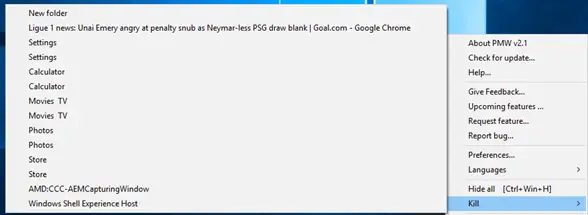
This is the most useful feature that you will enjoy the most. The menu displays a “Kill” option that allows you to directly kill any application or file or directory or any unwanted program.
There is also an option of “Kill all” that would free your hung system instantaneously. The Kill option has truly made managing all the open processes quite easy that too from the tray menu.
2] Hide option for hiding all open tasks
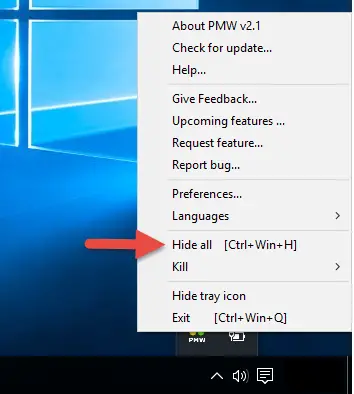
The software menu displays a “Hide” option that allows you to hide all your open tasks and directs you straight to the desktop.
Once hidden, the menu displays an option to “Unhide” and “Unhide all”.
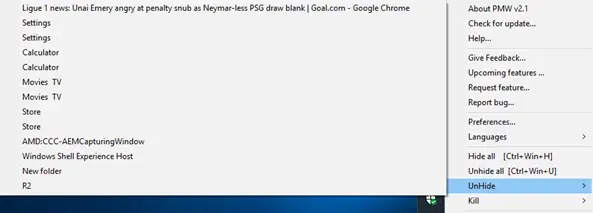
If you select Unhide, a list of all the open tasks will be displayed for you to select the one to hide. Hide button has been given a trouble-free option to showcase only required tasks at the moment.
3] Language Tab for selecting the language
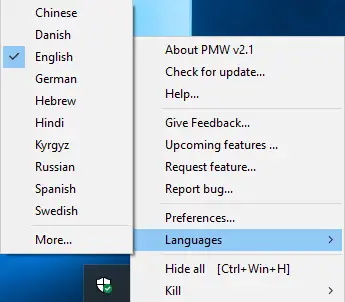
This option allows you to select one of the ten languages displayed in the drop-down menu. The best part is that users themselves can localize it in their language with options in the language drop-down list.
There is also an option to have your language listed on the app. All the strings are read from a language file – XML file that makes it so easy to change your language preference.
4] Preferences Tab for customization
Preferences tab gives an amazing level of transparency for your applications.
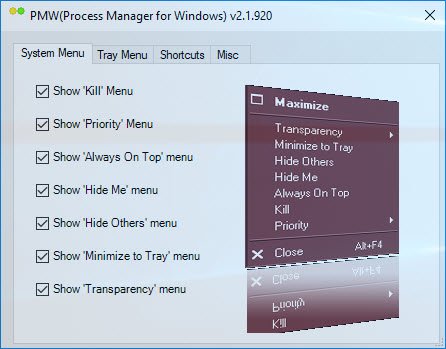
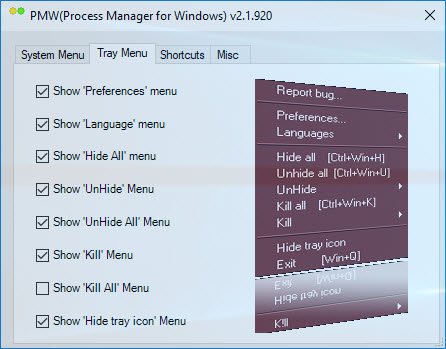
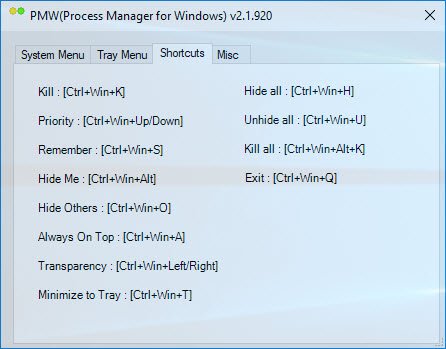
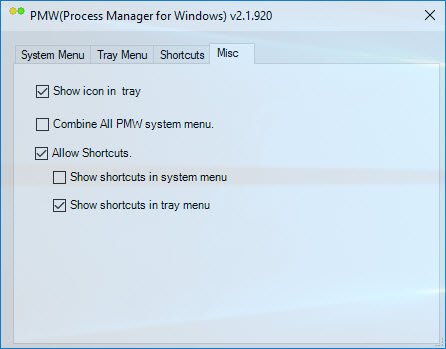
It allows you to set your priorities level for “System menu” and “Tray menu”, displays “Shortcuts” for all the menus and “Misc” tab to set your priorities.
These are the options available under the Shortcuts tab.
It also allows you to set the shortcut for Process Manager in System Menu as shown below.
5] Remember Priority
It is one of the options mentioned on Preference menu. It helps you to set priorities and maintains it like “Keep always on top”, “Transparency” and many other options mentioned on the preference menu list. Once you set the priorities, you can retain the same settings after the reboot as well, which is one function that is missing from our Windows Task Manager.
6] Check for Update
This tab allows you to check for updates.
7] Tray Menu
The menus mentioned on the tray as well as on systems can be configured as per the user’s convenience. You can set which menus you would like to have on the system menu and which one on the tray menu or maintained the same menus on both as well. Such small things increase your convenience.
8] Shortcuts
There is a shortcut for every menu mentioned in Preference menu. One of the best features of Process Manager for Windows (PMW) is that it requires little RAM to function. Thus, when many programs are running in the background, there won’t be much problem in running PMW. One point to note is that this software was last updated in 2010, but nevertheless, it worked just fine on my Windows 10 PC, Windows Process Manager is a useful little software that helps you manage multiple processes, especially with its tray menu option. You can download Process Manager for Windows from here.
