This issue may occur when a specific third-party driver viz farspace.sys is installed on the system before you upgrade to the newer version of Windows 10. If a computer that has the unsupported driver is upgraded, a bugcheck error is triggered. SomeFarspace.sys driver versions are known to cause this problem. To verify that the issue on your system is caused by this farspace.sys driver, follow these steps:
Navigate to the folder path below.
Locate the farspace.sys file.Right-click the file, and then click Properties.In the properties window, select the Details tab, and note the file version.
If the file version is 8.34.x.4642 or earlier, this driver is causing this error. In which case, you can continue below in the next section to see the applicable fix for the issue.
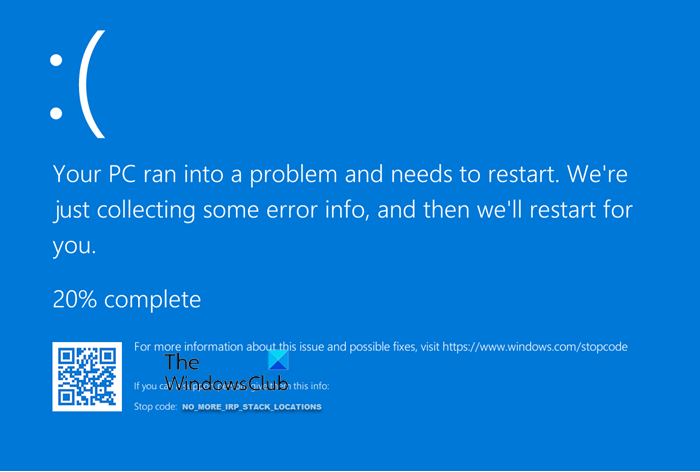
Fix NO_MORE_IRP_STACK_LOCATIONS Blue Screen
If you’re faced with this issue on Windows 11/10, you can try our recommended 3-step fix procedure in the order provided below to effectively resolve the issue. Let’s take a look at the brief description of the process involved concerning the 3-step fix process.
1] Disable the Storage Sense scheduled task that’s triggering the faulty code
Investigations show that if the Storage Sense scheduled task is enabled, this BSOD error will be triggered – provided the farspace.sys outdated driver is installed on the Windows 10 computer. In this first step, you are required to disable the Storage Sense scheduled task. Here’s how:
Press Windows key + R to invoke the Run dialog.In the Run dialog box, type cmd and then press CTRL + SHIFT + ENTER to open Command Prompt in admin/elevated mode.In the command prompt window, copy and paste the command below and hit Enter.
Once the command executes, proceed to Step 2.
2] Download and install the updated farspace.sys driver
In this step, you are required to download the DeepFreezeWin10FarSpacePatch.msi package. Navigate to its download location. Double-click to launch the update package. Follow the on-screen instructions. After you have completed this 2nd step requisite for fixing the error, proceed with Step 3.
3] Re-enable the Storage Sense scheduled task
In this 3rd and final step, you’ll need to re-enable the Storage Sense scheduled task. To do that, follow these steps:
Open CMD Prompt in elevated/admin mode.In the command prompt window, copy and paste the command below and hit Enter.
Now, you can try the Windows 10 upgrade process again – it should complete successfully. Note: After you have completed the 3-step fix procedure, the Windows system must be booted in a thawed state (suspended deep freeze) for the changes to take effect. This means using a program called Deep Freeze by Faronics, you can reboot the system into a thawed mode, whereby you can install more programs, update settings, drivers, etc., and then refreeze the computer in the new state. It’s kind of like using a virtual machine, but not the same thing. That’s it!