Make Word always create a backup copy of a document
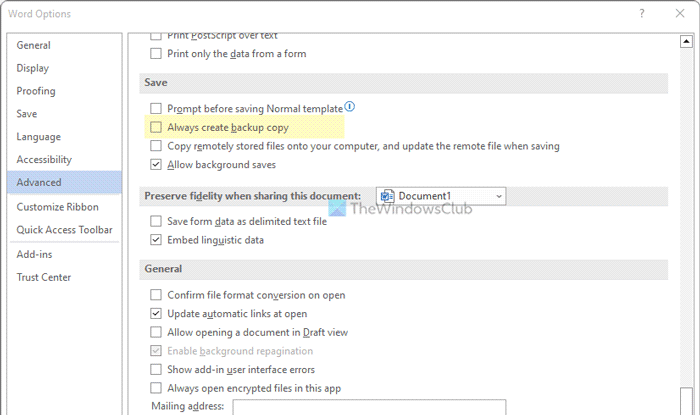
To always create a backup copy in Word, follow these steps: Let’s check out more about these steps in detail. To get started, you need to open Microsoft Word on your PC first. Then, click on the Options visible in the bottom-left corner. In case you have already opened Word on your computer, you can click on the File menu in the top menu and click the Options menu. Once the Word Options panel is visible on your screen, you need to switch to the Advanced tab. Then, head to the Save section and find the Always create backup copy checkbox.
If you want to always create a backup copy, you need to tick this checkbox and click the OK button to save the change. If you want to revert to the original setting, you need to open the same section and uncheck this option before clicking the OK button.
How to always create backup copy in Word using Group Policy
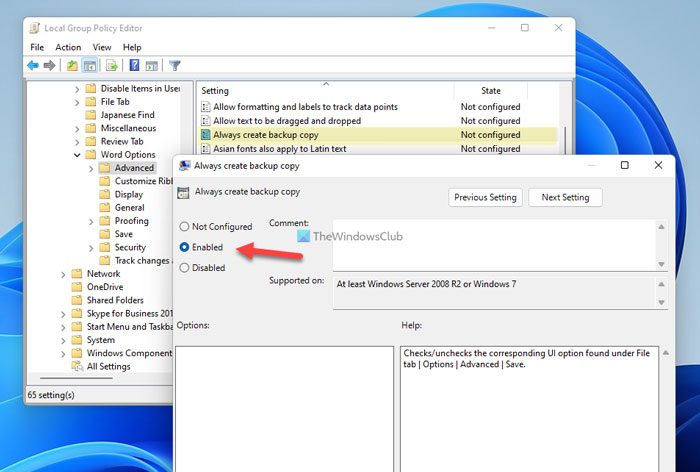
To always create a backup copy in Word using Group Policy, follow these steps: Let’s learn more about these steps in detail. First, you must open the Local Group Policy Editor on your computer. For that, search for gpedit or gpedit.msc in the Taskbar search box and click on the individual search result. Then, navigate to this path: Here you can a setting named Always create backup copy. You need to double-click on this setting and choose the Enabled option to allow Word to create backup copy.
However, if you want to prevent Word from creating the backup copy, you need to choose the Disabled option. Finally, click the OK button to save the change.
How to always create backup copy in Word using Registry
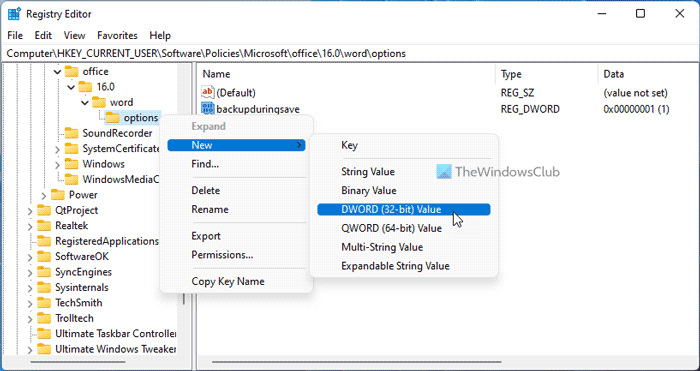
To always create backup copy in Word using Registry, follow these steps: To learn more about these steps, keep reading. To get started, press Win+R to open the Run prompt, type regedit, hit the Enter button, and click the Yes button to open the Registry Editor on your computer. Then, go to this path: Right-click on 16.0 > New > Key and set the name as word. Then, right-click on word > New > Key and name it as options.
Following that, right-click on the options key, select New > DWORD (32-bit) Value and name it as backupduringsave.
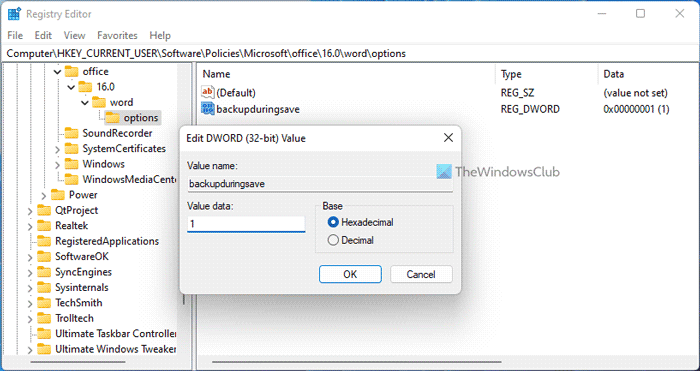
If you want to prevent Word from creating an automatic backup copy, keep the Value data as 0. However, if you want to enable automatic backup copy, double-click on it and set the Value data as 1.
Finally, click the OK button, close all windows, and restart your computer to get the change. Note: If you cannot find 16.0, you need to create it manually using the same method as described above. Read: Prevent users from setting personal site as default location in Office
How do I make Word always create a backup copy?
There are three ways to make Word always create a backup copy, and all three methods are mentioned here. It is possible to turn on or off this setting using Word Options, Local Group Policy Editor, and Registry Editor. In the Word Options panel, you need to go to the Advanced tab and head to the Save section. Then, tick the Always create backup copy checkbox.
How do I set up auto backup in Word?
To set up auto backup in Word, you can go through any of these three methods. You can go to the Advanced section in User Configuration, and double-click on the Always create backup copy setting. Then, choose the Enabled option and click the OK button to save the change. Read: How to show or hide Picture Placeholders in Word.