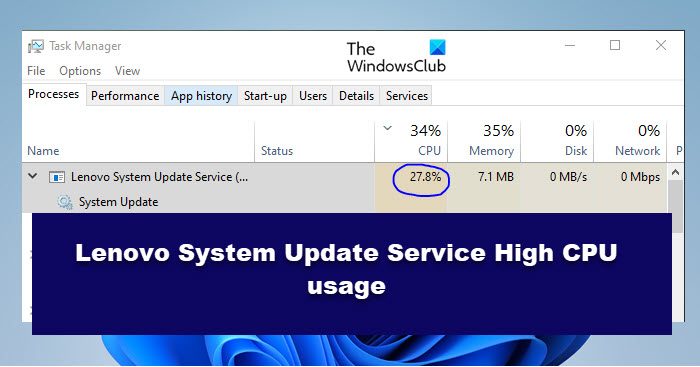
Fix Lenovo System Update Service High CPU usage
If your Windows 11/10 computer is experiencing high CPU usage by the Lenovo System Update Service, check out the following solutions to resolve the issue. Let us talk about them in detail.
1] Kill Lenovo System Update Service and restart
Let us start with the first solution, you need to end the process and then restart your computer. So, open Task Manager, right-click on Lenovo System Update Service and click End Process. Now, restart your system. When you stop the service, the update will be paused, and restarting Windows will resume it. Hopefully, this time, it won’t take a whole lot of processing power.
2] Update Lenovo System Update Service
You may also face the error in question if you are using an older version of the service. There is a bug that’s causing high CPU usage. To fix it, you should download and install the latest version of Lenovo System Update Service from support.lenovo.com. Hopefully, this will do the trick for you.
3] Disable Lenovo System Update Automatic Updating
Lenovo System Update has an option that automatically updates the outdated software component of your system once the update is available. To do that, it keeps on checking for updates from time to time. The problem has been noted on various devices and the best solution users come up with is to disable the automatic updating option and see if that works. Follow the prescribed steps to do the same. Hopefully, this will do the trick for you. You can also try doing the same using the Registry Editor.
First of all, search out “Registry Editor” from the Start Menu and go to the following location. For 64-bit OS: For 32-bit OS: Look for SchedularAbility and set the Value data to NO. Click on OK to confirm. Finally, restart your computer and see if the issue persists. You can manually open the app and look for updates, but it will not take a toll on your CPU by constantly checking for updates.
4] Remove Lenovo System Update Service
If nothing works, then your last resort should be to uninstall Lenovo System Update Service. This won’t mean that you won’t be able to update drivers, in fact, we will show you some simple methods to keep your driver updated hereinafter. To uninstall the app, follow the prescribed steps. After uninstalling the app, restart your computer and you won’t have to deal with the high CPU usage issue caused by the service. Now, to update your drivers, you can pick any of the following methods as they are not going to take a toll on your CPU.
Download Driver and Optional Updates via Windows Settings.Go to the manufacturer’s website and download the latest version of your Drivers.You can also use free driver update software to keep your drivers up-to-date.
You can also update BIOS on your computer, so, there is nothing to worry about. That’s it!
Why is my CPU usage so high Lenovo?
There are various reasons why that can cause high CPU usage. If it’s nothing more than a glitch then you can just end the task and everything will fall onto its place. But usually, that’s not the case, users tend to experience a high surge in CPU usage due to various peculiar things. We would recommend you check our guide on how to fix high CPU usage. It is a detailed guide that takes all the reasons in mind and then spun solutions, you will be able to resolve your issue using it. Also Read:
System process (ntoskrnl.exe) High Disk or CPU usageFix System interrupts high CPU usage
Yes, you can stop Lenovo Update Service as long as Windows Update and Optional Updates are working. Those two will make sure that your computer is not outdated and is not vulnerable to any errors. For more detail on this, check the fourth solution. Also Check: Lenovo ThinkPad missing drivers? Download & install them properly!