How to warp and convert Text to Shape in Illustrator
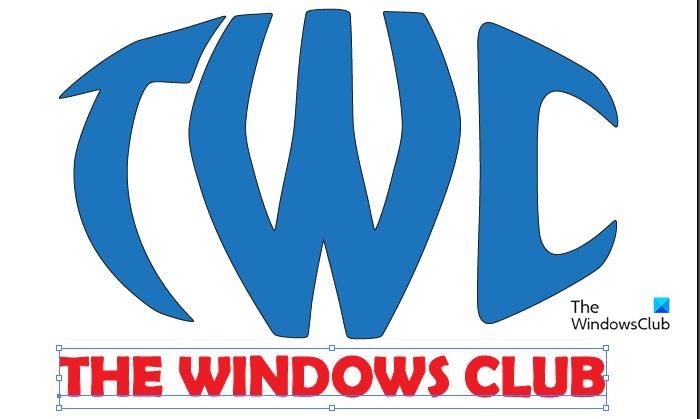
Using Illustrator you can shape text into a shape or fill a shape with text. Let us see how to warp and convert Text to Shape in Illustrator.
Write in any Shape using Illustrator
Writing in shapes can attract the interest of people. Something is interesting about a word written in a shape. You will be able to write in any shape of your choice after reading this article. The steps are easy to follow and require no advanced skills.
How to make text into a shape in Illustrator
1] Prepare the Text
When writing in shapes, it is good to choose a nice full text that will look fill in the shape. Choose a text that is not narrow, choose one that will fill out the shape nicely. Avoid texts that are joined together, look for ones that are readable whether you will be writing in all caps or first letter caps.
2] Choose the Shape
Choose the shape that fits your project, you may be working on a soap advertisement so you may want to write in a circle to represent a bubble. This will add some style and interest to your artwork and the package will attract more customers. Note that you do not want to distort too much because you want the text to be readable.
Open Illustrator and choose the options that best fit your project.
Draw the shape you want by using the tools that are there like the Ellipse Tool or the Polygon Tool. You may also create your own custom shape to write in. Write the word that you want to be in the shape.
3] Merge the Text and Shape
Make sure that the shape will be in front of the word. You can do this by right-clicking the shape, click Arrange then click Bring to front. Since the shape will be in front of the text, make sure that the shape has no fill color as it will hide the word?
Select the shape then hold Shift and select the word and this will make sure that both are selected. Go to the Align Window or click Shift + F7 to bring it up. Align both the word and shape to the center vertically and horizontally.
When both are selected go to Object then Envelope Distort click Make With Top Object.
This is the finished product. The word is now in the shape of the circle and the circle has disappeared.
4] Finalize
You can now add whatever else you need to add to the text to make it fit into your project. You can add color and other layer styles to make it look like what you want. You may wonder what would happen if you had a spelling error in the word. Well, you can edit the shaped word and even change the text completely to a new word if you want to. Double click with the Selection Tool at the center of the warped word and you will see the original word show up.
This will make the original word always visible when you hover at the center of the warped word. You can use the Text Tool and click the original word and make whatever changes you like. When you are finished editing just click the Selection Tool.
Here is another example using a cloud shape that was made using the shapes in Illustrator and then merged with the Shape Building Tool. Now read: How to Warp and Convert multiple Words to one Shape in Illustrator
What can Writing in Shapes be used for?
Writing in shapes can be used for a lot of things. Writing in shapes can be used as logos, it can be used to add some interest to your artwork. Writing the word apple in the shape of an apple can also invoke the memory of an apple in an advertisement. Read: How to type inside a Shape using Photoshop
How Hard is it to write in Shapes?
This article shows how easy it is to write in any shape. Before this method was available in Illustrator. you would have to use the warp tool to manually fix text into shape. Following these steps will help you to make your own text into any shape. Read: How to make a Chef Hat in Illustrator.

