Windows Backup and Restore Tool in Windows 11/10
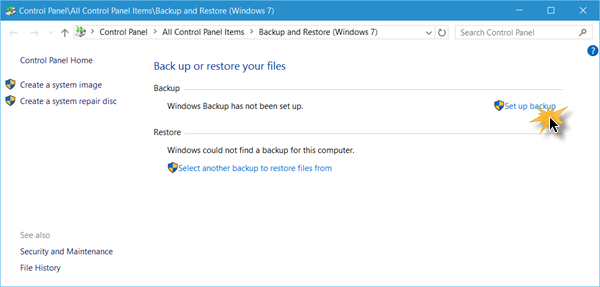
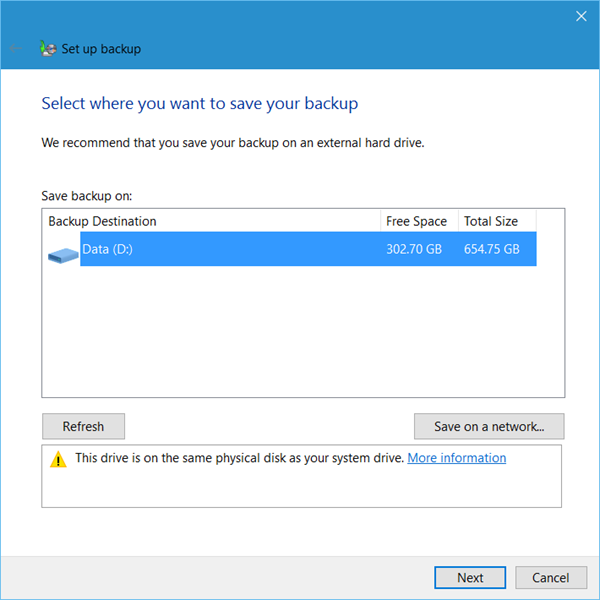
Open Control Panel and click open the Backup and Restore (Windows 7) applet. Click on the Set up backup link to commence. You will be asked where you want to save your backup. You may select another drive, and an external hard drive or a network drive. In this example, I have selected my D Drive.
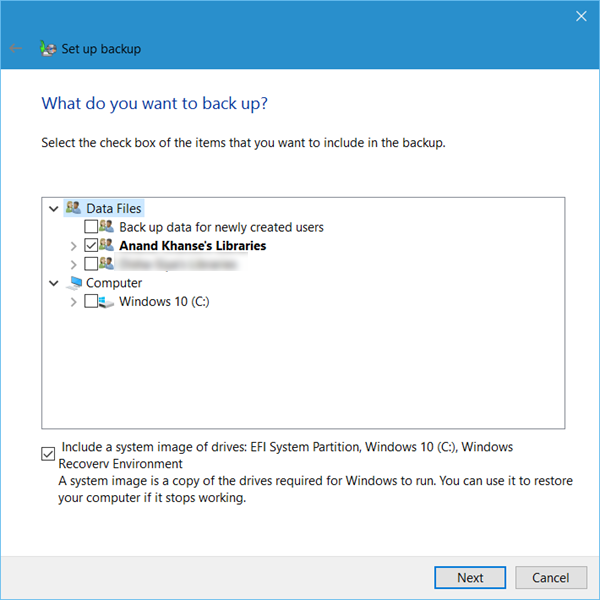
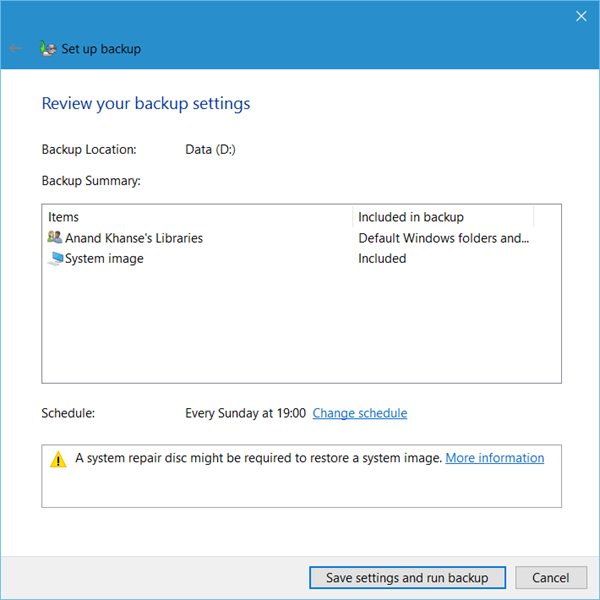
Clicking on Next will open up a window, where you will be asked what you would like to back up. You may select Let Windows decide, or you may select Let me choose.Clicking on Let me choose will allow you to select the folders you want to back up and whether you want to include a System Image too. These will be backed up as per a regular schedule – which you can of course change. Select the items you want to back up and click on Next.Review your settings and click on the Save settings and run backup button.
The backup will commence. The backup process is expected to take a while the first time you run it and may make your computer a bit sluggish. Just below the Backup settings, you will see a Restore section. Using this, you will be able to restore your files. You may restore all user’s files, or you may select another backup to restore files from. This post will help you if Windows Backup is not working or failed. See this post if you feel the need to free up disk space by deleting previous System Images and Backups. How to Backup & Restore files using File History may also interest you. Related reads: