Windows 11 users: This post will show you how to use Calendar App in Windows 11.
Windows 10 Calendar App
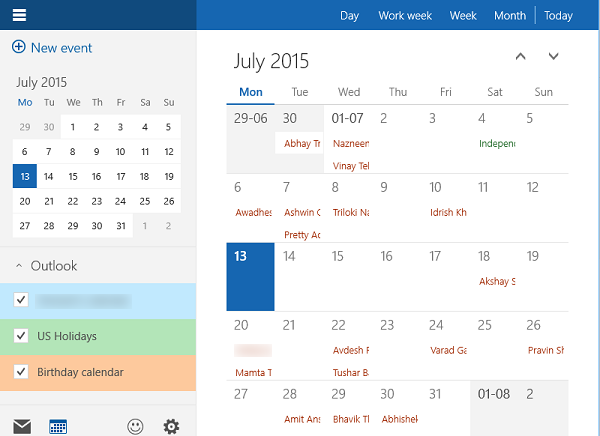
As a user of the app, you will be first required to sign in with a Microsoft Account you own. When done, users will notice a set of buttons in the bottom-left corner of the app to switch back and forth between apps, a button to send feedback, and most importantly, a gear button to access the settings page. When you open Calendar, you’ll observe all events from your Microsoft account are listed. To see events from other calendars, add the accounts to the Calendar app. To do so, click the Settings button. This will open a pane from the right. Click Accounts and you should see all your current accounts. To add a new account, click on Add account and a dialog box with the list of the available services you can connect to the app, will be displayed. Users can add all the different Microsoft accounts by using the Exchange option by entering the same information– your email address and password.
Once you have finished with the above process, click Sign in, and the new account will be added to the list in the left pane. All the emails should start downloading in a second. Rename your account by clicking the setting button from the left pane > Accounts > the account you want to rename. You should now see a new file called Account name. Add the desired name and hit Save button. To add an event, here’s a quick way. Select a date and enter the event details like name, date, time, and location of the event or meeting.
It should be noted that the Calendar app works only with online accounts and is integrated with the Windows Mail app. These posts will show you how to add National Holidays to it. Now take a look at these Microsoft Calendar tips & tricks for the web version. See this post if Windows Mail and Calendar app freezes.