Split one column into multiple columns in Excel
Depending on the quantity of the data set, a user can select one or more delimiters to split the text in a column. You can take the text in one column and split it into multiple columns using the Convert Text to Columns Wizard.
1] Use Convert Text to Columns Wizard
Open the Excel Sheet in which you would like to split a single column into multiple columns.
Then, go to the ‘Data’ tab and select ‘Text to Columns’ section.
Next, in the ‘Convert Text to Columns’ Wizard that shows up on your screen, select Delimited radio button and click ‘Next’ to continue.
2] Choose Delimiters for your data
Here, specify the Delimiters for your data. For example, Comma and Space.
By default, Excel will attempt to separate your single column data by each tab it finds. This is fine, but you can configure column data format by,
GeneralDateText and more
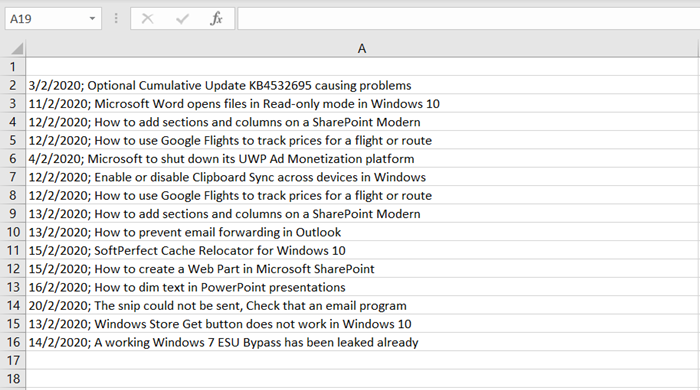
General converts numeric values to numbers, date values to dates and all remaining values to text. Here, we’re using data that’s separated by semicolons. If necessary, you can see a preview of your data by switching to ‘Data preview’ window and hit ‘Next’ button
3] Choose a destination
Select the ‘Column data format’ or use what Excel chose for you. Finally, specify the ‘Destination’ where you would like the split data to appear on your worksheet.
When done, hit ‘Finish’. As you can see in the image above, the single-column will be split into multiple (2 columns) and the data will appear well structured and organized.