Reset Windows Backup to Default settings
To reset the ‘Backup and Restore (Windows 7)’ feature, aka Windows Backup settings to its default, follow these steps outlined below: Press Windows key + R to invoke the Run dialog. In the Run dialog box, type cmd and then press CTRL + SHIFT + ENTER to open Command Prompt in admin/elevated mode. In the command prompt window, copy and paste the command below and hit Enter. The command will delete the Windows Backup registry entry. Next, copy and paste the command below and hit Enter. The command will delete the automatic backup scheduled task. Next, copy and paste the command below and hit Enter. The command will delete the backup monitor scheduled task. Once you complete the steps, the Backup or restore your files page will reset to its default settings removing any previously configured backup settings allowing you to set up a brand new schedule or leave the feature disabled. Note: Resetting Windows Backup to default will only reset the settings back to default, and will not delete any previously backed up files. If you wanted to delete any created backups, you will need to manually delete them from the source drive as necessary.
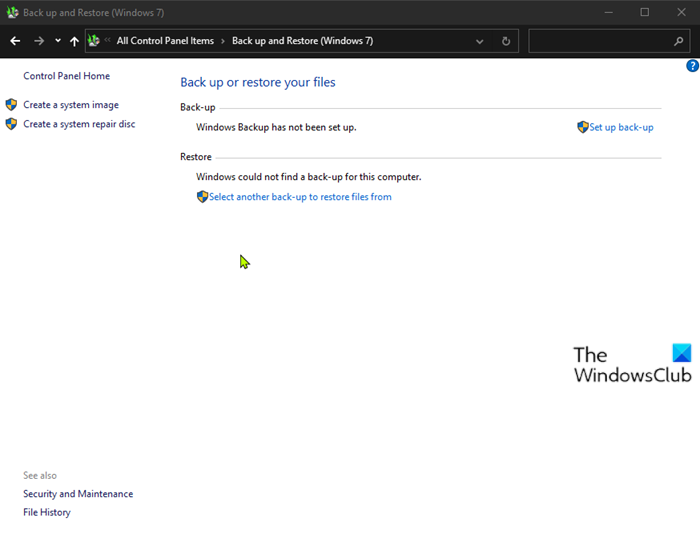
Windows Backup
On Windows 10, Backup and Restore (Windows 7) feature (aka Windows Backup) is a legacy tool that has been around since Windows 7, and it’s been designed to create and restore full and differential backups of files or the entire system. It was deprecated in Windows 8 and removed in Windows 8.1, but has been included in Windows 10. Although the tool has been deprecated, it continues to be available on Windows 10, and many users still use it to backup files or create full backups in case a rollback is necessary after an upgrade or hardware failure.