How do I remove Share with Skype context menu?
To remove the Share with Skype context menu item in Windows 11/10 you can use CMD, edit the Registry or use free Context Menu Editor tools.
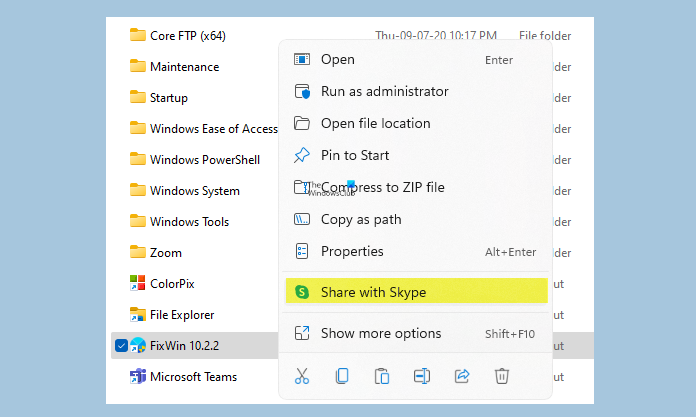
Remove Share with Skype from the context menu
There are two ways to get rid of the new feature- the first is by editing the Registry key and the second is to uninstall Skype from your PC IF you do not use Skype. Since this is a built-in feature of Skype, you will get it back in the context file menu if you install Skype again.
1] Using Command Prompt
The quickest way to do this would be to open Command Prompt as Admin, copy-paste the following command in it, and hit Enter: Next, restart the Explorer process via the Task Manager.
Right-click on any file and see. The Share with Skype entry will be removed.
2] Rename the Registry Key
For Skype Desktop
If you are using Skype Desktop, open the Registry Editor, press Win+R and type Regedit. Find the following key. (Copy and paste it on the address bar of your Registry Editor) Now look for this folder in the left pane. Rename it. You can add any symbol like a minus or a simple dot in front of ot to rename it. That’s it! The Share with Skype item is gone. If you ever feel like getting the feature back, you simply have to remove the sign you added and Rename that particular folder to {776DBC8D-7347-478C-8D71-791E12EF49D8} again and you are done.
Alternative Method for Skype UWP app
If you are using the Skype UWP app, open Registry Editor (Press Win+R and type Regedit) Go to the key Locate the folder Remember that the folder names and key names will be different for different versions of the Skype app installed on your PC. Now Go to the following key Go to DllPath in the right pane and double click. Delete the value and click Ok.
3] Use Easy Context Menu
Easy Context Menu is a simple and lightweight freeware that lets you remove unwanted options from the file context menu. This freeware comes in a Zip file. To remove the Share with Skype feature from your file context menu, download Easy Context Menu, extract it all and launch it. Use the short Ctrl+X to open the ContextMenu Cleaner. Locate Share with Skype and uncheck the box. That’s it! Apart from the Easy Context Menu, there are many other Context Menu Editors which you can use to add, remove, edit Context Menu items in Windows 11/10.
4] Uninstall Skype
If you do not use Skype, then you can uninstall it via Settings or Control Panel. You can easily download it from the Store if you anytime require it again. Type Skype in the search box in your taskbar. Right-click on the app and select Uninstall. So, if you are someone who likes to keep the file context menu cleaner and simpler, use these methods to get rid of the Share with Skype context menu item.
How do I remove items from the context menu?
To remove the items from the right-click context menu in Windows 11/10 you can turn off the option from the programs setting if it is available, edit the Registry or use free Context Menu Editor tools.