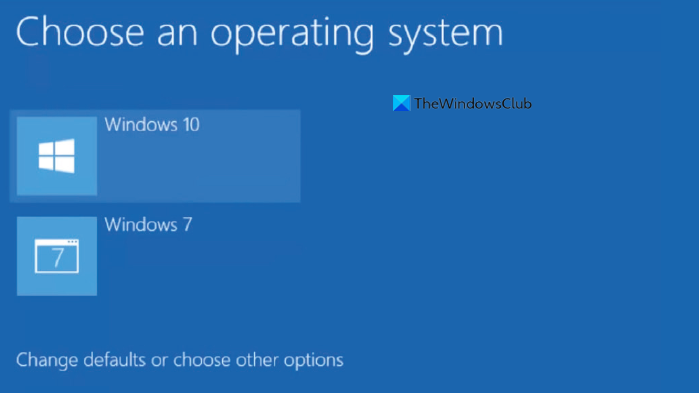
This issue may occur even after using the new installation for several days. At every startup, you need to select the current operating system’s name and hit the Enter button to boot into your system. If you want to remove Earlier version of Windows entry from the boot menu, here is the solution to do it using BCDEDIT.
Remove Earlier Version of Windows from Boot Menu
Open Command prompt with administrative privilege. If you are using Windows 7, you can search for cmd in the Start Menu, right-click on the exact result and select Run as Administrator. If you are using Windows 11/10/8.1, you can open that by pressing Win+X and selecting Command Prompt (Admin). After opening the command prompt with admin privilege, enter the following command, and hit Enter. This will help you know the currently installed and registered operating system(s) on your PC. Read: Change Boot Menu Text, when dual-booting the same version of Windows.
Disable Choose an operating system screen on Windows 11/10
BCDEdit or Boot Configuration Data Editor Tool is a useful built-in tool that can even help you change Boot Menu Text when dual-booting the same version of Windows. You will see an entry, which says Windows Legacy OS Loader. In the description, you will see Earlier Version of Windows. If you can see it, you will be able to delete this entry, by entering the following command and hitting Enter. It doesn’t take a long time. Just after hitting the enter button, you will get a Success message that looks as follows:
The change will be reflected immediately. You can restart your PC to check whether the unnecessary entry has been removed or not. TIP: EasyBCD is a free boot editor software some of you may want to check out. Also, check out Advanced Visual BCD Editor & Boot Repair Tool. Related reads: