If you wish, you can reduce ChkDsk countdown time in Windows 11/10/8/7.
Reduce ChkDsk countdown time in Windows
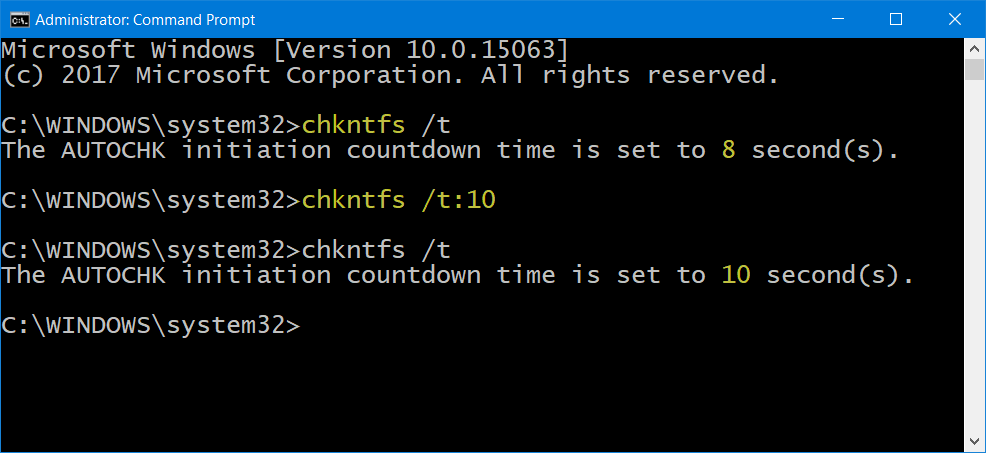
ChkDsk is an essential monitoring tool in Windows 10 that analyzes disks on a file system, creates reports based on the errors it finds and corrects the problems associated. Before the tool begins, it displays a countdown timer that lets you cancel the ChkDsk, should you wish to do so. The default could be 8, 10 or 30 seconds. If you wish to change the time, here is how the countdown time can be reduced to speed up the process without affecting the performance of the utility. Open an elevated command prompt window by typing CMD in the Windows Search bar and right-clicking the Command Prompt and choosing Run as Administrator. Next, type the following command in the command-line and press Enter to confirm the current countdown timer value: Here substitute ‘seconds’ with the time in seconds that you want to set. It can range from 1 to 259200 seconds. In the image above, I have selected 10 seconds. Once I set it to 10 seconds, I used the following command to confirm: It had been changed from 8 seconds to 10 seconds. You can also change the ChkDsk countdown time using the Windows Registry. Run regedit and navigate to the following key: Here you can set the value in seconds in the AutoChkTimeOut DWORD. Thus you can change – reduce/increase the ChkDsk countdown time. Hope this helps.

