Today, we’re going to talk about how to bring the native functionality of the OneNote Class Notebook by installing its Add-in to your OneNote Desktop app.
Install OneNote Class Notebook Add-in
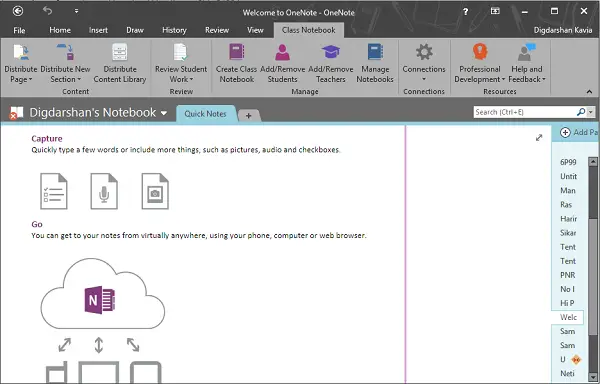
The add-in has a lot of features which promises a collaborative interaction with students. It has a content management section where you can distribute your class notebooks and content library among students. You can also quickly review the student’s work under review section of this Add-in. Managing the class notebooks and adding/removing the students or teachers is also quite easy. What’s more interesting about this Add-in is the ability to integrate, configure and connect to several Learning Management Systems through Windows Group Policy, including the very own Microsoft Classroom. OneNote Class Notebook Add-in has two pre-requisites for installation on any computer which is as below:
OneNote app installed on your desktop should be of version 2013 or higher (Currently, Office 2013 and 2016)Microsoft .NET 4.5 should be installed on your PC.
Apart from the above requirements, the add-in needs administrative privileges to install. If you want to try out the add-in for your OneNote desktop app, follow the below steps:
- Download the .msi Installer file along with the Group Policy templates from the Microsoft Download Center.
- Install the Class Notebook Add-in by deploying the MSI file using Microsoft System Center, Group Policy Software Installation or another equivalent deployment mechanism.
Handling Class Notebook Add-in updates
Deployment methods and schedules vary on an organizational basis. Based on your company’s deployment timeline, you can directly deploy the updates for this add-in soon as they become available on the Download Center website. This will, in turn, make sure that all your employees are running the latest version of OneNote Class Notebook Add-in.
Nevertheless, updates are not imposed on the product basis, but you can choose to take advantage of the bug fixes and new features that are rolled out in subsequent updates.
How do I install OneNote addons?
Installing OneNote add-ins is quite different than installing extensions in the browser like Chrome, Firefox, etc. You need to download the add-in separately. In most cases, you can find an EXE file that you need to install. Following that, you can find it in the OneNote > Options > Add-ins. From here, you can manage all the add-ins you installed earlier.
How do I use OneNote for an organization?
Using OneNote in an organization or among a small team is quite straightforward. As it is very easy to share a notebook or page with others, you can share it with your organization or team members to get started with OneNote. You can create multiple Notebooks, pages, subpages, etc., to manage multiple teams or departments in your organization. If you have brought this add-in to your Organization’s productivity suite, let us know how you like this functionality.