Increase upload and download speed in Windows 11/10
These are the things you can do to increase upload and download speed in Windows 11/10. Let us talk about them in detail.
1] Close unnecessary apps and tabs
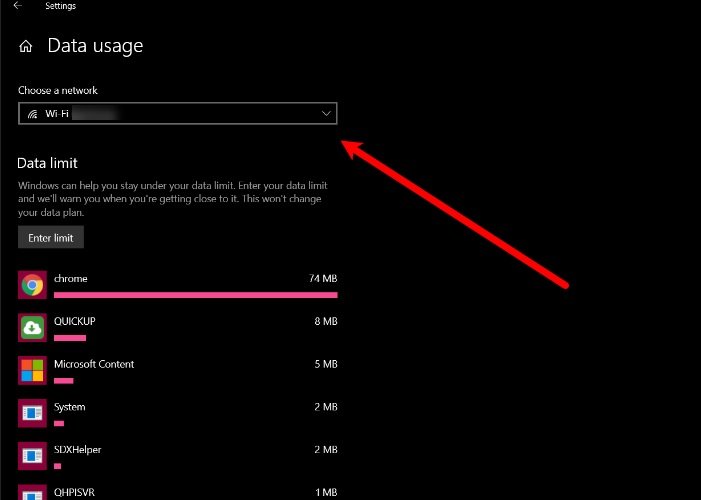
If you are facing slow download speed, try closing all the applications that can use your Internet. If you don’t know which app is using your Internet, try checking your Data usage. To do that, launch Settings from the Start Menu and click Network & Internet > Data Usage. Now, select the network that you are connected to from the “Choose a network” section, check which app is unnecessarily using the Internet, and close it. You should also close unnecessary tabs if you are downloading or uploading something from your browser. Do these things and check if it increases your download and upload speed. Read: How to increase Download Speed in Firefox.
2] Disable Metered Connection
If you have enabled Metered Connection, try disabling it as it can limit your downloading and uploading capabilities. To do that, follow these steps:
Launch Settings by Win + I.Click Network & Internet > Properties (of your current Network).Use the toggle to disable Metered Connection.
Now, restart your computer and check if it increases your download and upload speed.
3] Disable Background Apps
There are tons of applications running in the background and using your Internet without you knowing about them. However, you can disable these apps in Windows 10 to get blazing fast downloading and uploading speed. To do that, follow these steps: Now, check if it increases your upload and download speed.
4] Use Wired Connection
If you use Wi-Fi then you can try switching to a wired connection to improve your download and upload speed. Wireless connections are not as reliable as their wired counterpart. Therefore, if you are in dilemma to choose between Ethernet and Wi-Fi, try going for Ethernet if you want extremely lag-free download and upload speed.
5] Switch to Google or Open DNS
One of the things you can do to improve your upload and download speed is to switch to Google or Open DNS. To do that, launch Control Panel from the Start Menu and go to the following location. Control Panel > Network and Internet > Network and Sharing Center
Now, click Wi-Fi from the “Connections” section and click Properties. Double-click on Internet Protocol Version 4 (TCP/IPv4), tick “Use the following DNS server addresses”, and enter the following DNS address depending on your choice. For Google DNS- Preferred DNS server: 8.8.8.8 and Alternate DNS server: 8.8.4.4 For Open DNS- Preferred DNS server: 208.67.222.222 and Alternate DNS server: 208.67.220.220 Now, retry downloading or uploading, hopefully, your Internet speed will be improved.