Users of the Windows 11/10 operating system can find out their IP address very easily. There may be times you may want to find out your IP address and this tutorial will show you how you can do it easily.
How to find the Router IP address on Windows 11/10
Finding an IP address on Windows is very simple. You just need to follow any of the two methods and you are good to go. These are the methods you can follow to find the Router IP address on Windows 11/10: Let us talk about them in detail.
1] Find IP address by Command Prompt
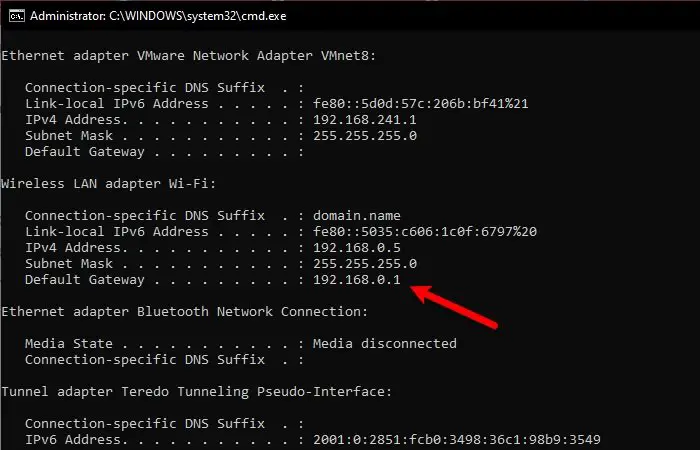
The Command Prompt can do tons of things for you and finding out the IP address of your Router is one of them. To find the IP address of your Router via Command Prompt, launch Command Prompt as an admin by Win + R, type “cmd”, and hit Ctrl + Shift + Enter. Type the following command and hit Enter. A list of different IP addresses will be thrown at you. But you need to look for Default Gateway as that’s your Router’s IP address. There will be two sections, one for Ethernet and the other one for the WiFI – you need to check according to the way you are connected to the Router. Read: How to change DHCP Lease Time in Windows.
2] Find IP address by Control Panel
If you are not familiar with Command Prompt and don’t want to run any commands then this method is for you. We are going to find your Router’s IP address via Control Panel. To do that, launch Control Panel from the Start menu and follow these steps:
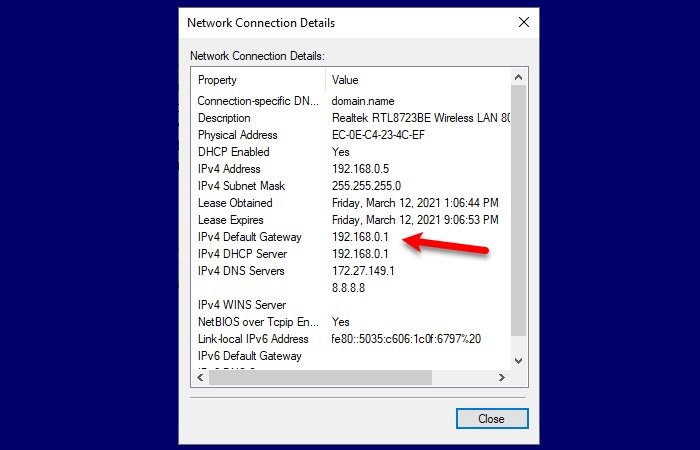
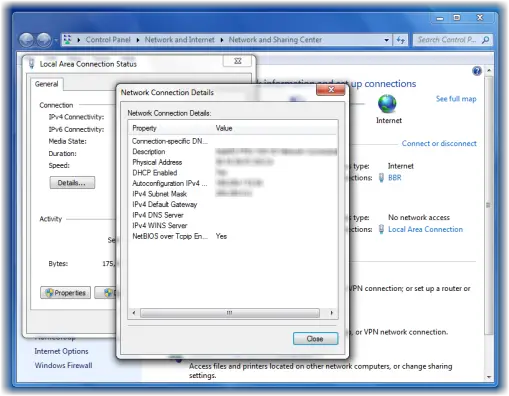
Open the “Network and Internet” sectionGo to View network status and tasksClick Wi-Fi or Ethernet (depending on the connection that you are using)Click DetailsCheck your IPv4 Default Gateway as that’s your router IP address.
So, now that you know your Router’s IP address, you need to launch any browser. Type the IP address, log in with the credentials given to you by your ISP, and then alter the settings according to your needs. Related read: How to set a Static IP Address in Windows.


