Today in this article, we’ll discuss the enforcement of the disk quota policy in Windows 11/10/8, to manage disk quotas. Here is how you can enforce Windows to limit disk management:
Enforce Disk Quota Limit Using Registry Editor
- Press Windows Key + R combination, type put Regedt32.exe in the Run dialog box and hit Enter to open the Registry Editor.
- Navigate to this registry key:
3. In the right pane of this location, you’ll need to create the DWORD named Enforce using Right click -> New -> DWORD Value. Double click on this DWORD, you’ll get this:
- In order to let Windows enforce for limiting disk quota, you can input the Value data as 0. Click OK. If you want to restore default policy of Windows to not enforce limiting disk quota, simply delete the DWORD created in recent step. That’s it!
Enforce Disk Quota Limit Using Local Group Policy Editor
Press Windows Key + R combination, type put gpedit.msc in the Run dialog box and hit Enter to open the Local Group Policy Editor.
Navigate here :
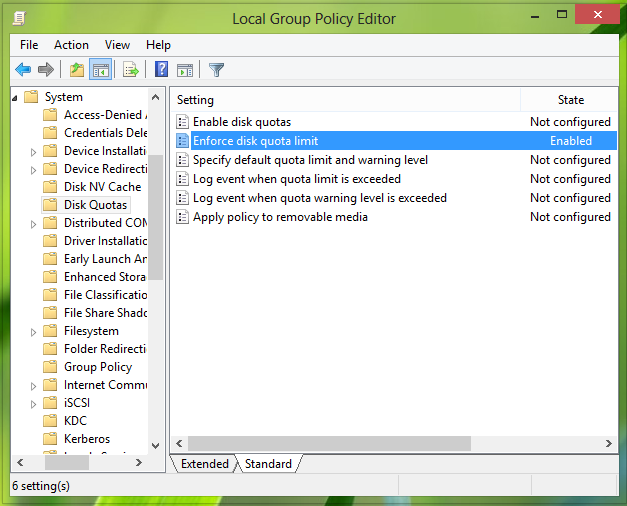
In the right pane of this location, look for the setting named Enforce disk quota limit and double click over it to modify it:
In the above window, select Enabled, so that Windows can be enforced to limit disk quota. Click Apply followed by OK. Reboot to get results. That’s it! Hope you find the article useful!