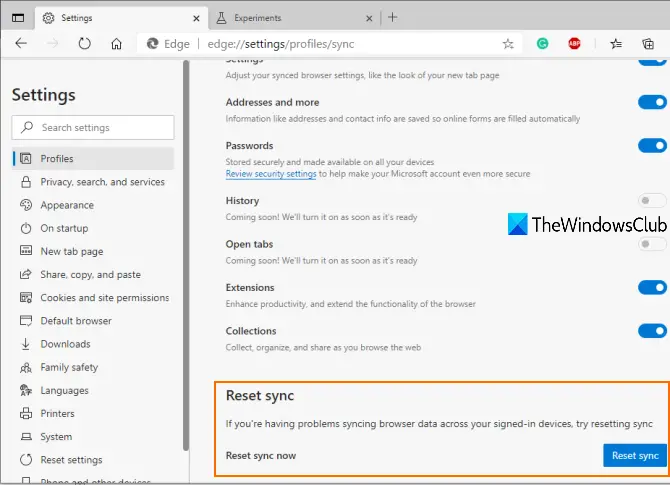
This option remains hidden or disabled by default, but you can enable Reset sync with some simple steps. Later, you can disable or turn off Reset sync whenever you need it. For now, this feature is available with Dev and Canary versions of the Edge browser, but it will also come in the stable version. In the image above, you can see the Reset sync feature is enabled in the Edge browser.
Enable or disable Reset Sync in Microsoft Edge
Open the Edge browser and then update it by accessing the About Microsoft Edge page. Type the following path in the address bar of Edge browser- It will automatically update the browser and then you’ll have to restart the Edge browser. Now access the Enable reset sync option in the flags page of Microsoft Edge browser using this path:
Three options are available in the drop-down menu of Enable reset sync flag: Default, Disabled, and Enabled. Default and Disabled options are available to turn off the reset sync feature and the Enabled option is there to turn it on. So, use the Enabled option and restart the browser. Now access the Profiles section on the Settings page of Microsoft Edge. The path is:
After that, click on the Sync option available in the right section. Turn on sync if it isn’t already. After that, scroll down, and you will see the Reset sync section. Press the Reset sync button and you’re done. To turn off or disable the Reset sync feature, you can simply access the same Enable Reset Sync flag, and set the Disabled or Default option. That’s all! The feature to turn on sync and manage Sync in the Edge browser is already available. Now it has also come with a Reset sync feature which is actually very useful. Hope this post is helpful for you to enable or disable the Reset sync option in Microsoft Edge.

