How to edit individual letters in Illustrator
There are organizations where a letter or letters in their logo is manipulated to be different than the others. You may wonder why not write each text on a separate layer and then change the ones you want. Well, this is possible, however, when gradients and other effects are added, it will not blend properly. Having them as one will make gradients and other effects look more uniform. While you can change The color or font style of a letter in a string of text easily, it takes some more work to rotate a letter. To rotate or make major changes to a letter or letters in a word, you will have to convert the string of text to a shape. Before changing text to shape, ensure that the spelling and font style is suitable for your project. Once the text is changed to a shape, it cannot be edited for spelling or font type.
1] Open Photoshop and prepare text
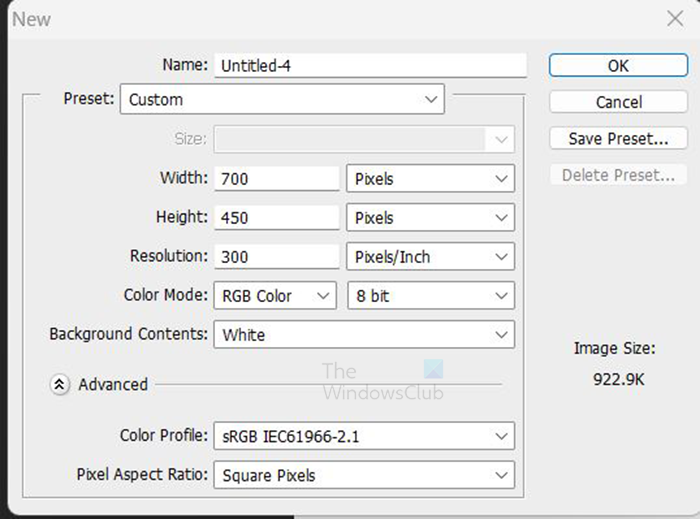
Open Photoshop and go to File then New to bring up the New document options window.
In the New document options window, enter the dimensions, resolution, and other properties that you want for your document. When you are finished, press Ok to confirm. When the new document is prepared, it is time for the text to be added. Go to the left tools panel and click the Horizontal type tool. The Horizontal type tool is the T on the tools panel. You can also press T on your keyboard to select the Horizontal type tool. When the Horizontal type tool is selected, click on the canvas and type the text that you want. You can choose to change the font style and size before you type the text or you can select the typed text and change the font style and size. To change the font type and size, go to the top menu bar and choose the font style and size. You can also change the text color as well. Make changes to the font style and make sure the spelling is correct before you convert to shape. When you convert to shape you will not be able to change the font style and correct the spelling. If the text is not big enough, you can always resize it. to resize the text press Ctrl + T to bring up the transform box around the text. Hold Shift + Alt then grab one of the edges of the text and draw it to the desired size. When the text is the correct size, press Enter to confirm and close the Transform box from around the text.
2] Convert the text to shape
Now that the text is created, it is time for the next step. In this step, the text will be converted to a shape. Before converting the text to a shape, make sure that the spelling is correct and the font style is the one that you want. These things will be unchangeable once the text is converted to a shape.
To convert the text to a shape, go to the layers panel and select the text layer then go to the top menu bar and select Type then Convert to shape. You may also convert the text to shape by right-clicking on its layer and choosing Convert to shape. When the text layer is converted to shape you will notice that, the layers icon in the layers panel is changed to a square with four dots. The text is now a shape and to select one or even all of them, go to the left tools panel and choose the Path selection tool and not the Direct selection tool. With the Path selection tool, you can click on one letter or drag it over all of them to select and show the transform box.\This is the text that is now a shape with all the letters selected showing the transform box around each. When they are all selected, you will have to click outside the text to unselect them.
3] Rotate or flip a letter
Now that the text is a shape, it is time to rotate or flip the letter or letters.
To rotate or flip the letter or letters. Select the one you want and press Ctrl + T, or right-click on the selected letter and choose Free transform path. This will bring up the transform box around the selected letter.\This is the word, you will notice the Free transform box around the letter A. To flip the letter, right-click on the selected one, and from the menu choose Rotate 180 degrees, 90 degrees CW (clockwise), or 90 degrees CCW (counter-clockwise). This is the word with the letter A rotated 90 degrees counter-clockwise. You can also move the texts by rotating the desired one with the mouse. With the transform box around the letter, move to the edge and hover with the mouse until the bent arrow appears, you then click, hold and rotate in the desired direction. This is the word with two letters manually rotated with the mouse. You can add more to the overall artwork to fit your intended purpose. Read: How to recolor objects in Photoshop
What is the Path selection tool?
The Path Selection tool lets you quickly select paths, giving you the versatility to move or edit objects. Select the Path Selection tool A Use the Options bar to customize tool settings, like Path Operations, Path Alignment, and Arrangement, to get the effect you want. Select one or more paths.
What is the Direct selection tool?
Lets you select individual anchor points or path segments by clicking on them or select an entire path or group by selecting any other spot on the item. You can also select one or more objects in a group of objects.