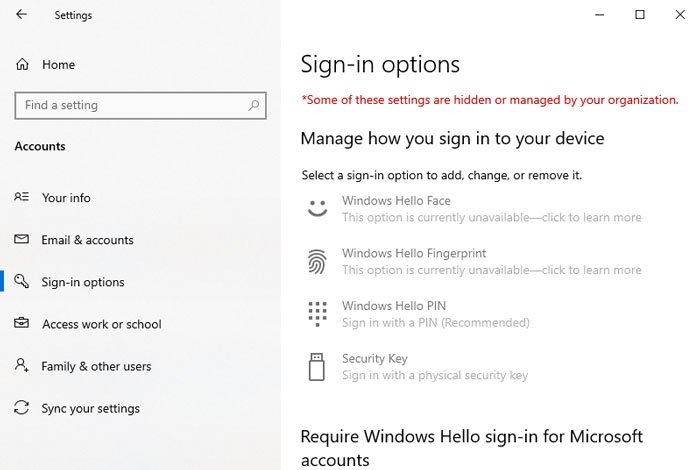
The Sign-in page in Windows Settings contains some options to set up a password, PIN, Security Key, etc. Apart from that, you can change or manage various sign-in related options according to your requirements. However, let’s assume that more than one person uses your computer, and you do not want to allow others to access the Sign-in options page. There can be security or any other reasons. It is possible to disable this page and make it show an error message like this – Some of these settings are hidden or managed by your organization. Precaution: As you are going to change values in the Registry Editor, it is recommended to backup all Registry files and create a System Restore point.
How to disable Sign-in options in Windows Settings
To disable Sign-in options in Windows 11/10 Settings, follow these steps- Let’s delve into these steps in detail. At first, you will have to open the Registry Editor on your computer. To do it, search for regedit in the Taskbar search box and click the Registry Editor in the search result. If it greets you with the UAC prompt, click the Yes button. Then, navigate to this path- In the AllowSignInOptions key, you will get a DWORD (32-bit) Value names value. By default, the Value data is set to 1. You will have to make it 0. To do that, double-click on it, enter 0 and click the OK button.
All the Windows 10 computers have this specific REG_DWORD value. However, if you do not see AllowSignInOptions key, you have to create it manually. For that, right-click on AllowSignInOptions key, and select New > DWORD (32-bit) Value options. Following that, name it as value.
Now, you can follow the rest of the steps as mentioned earlier. If you disable this page, all the options will be grayed out. In case you want to re-enable the Windows Settings page, navigate to the same place, and set the Value data as 1. That’s all! Hope it helps.