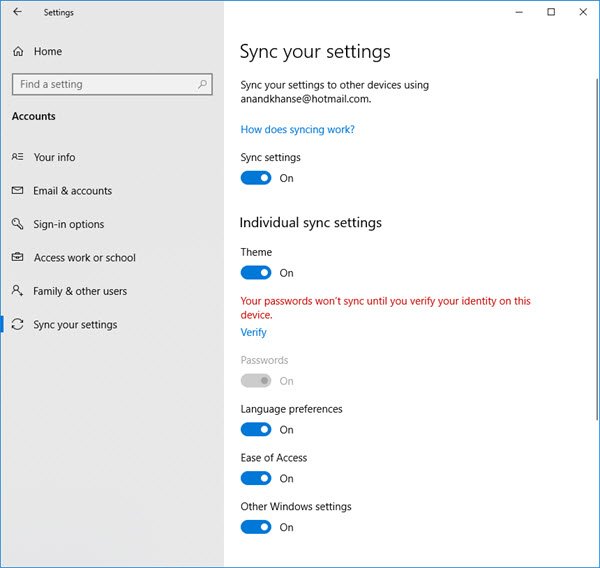
Having said that, if you are a system administrator, you can also use the Local Group Policy Editor to disable Windows sync feature.
To do so, you can follow the steps mentioned in this tutorial.
Enable, Disable Sync Setting in Windows 11/10
Log into Windows as an administrator Run gpedit.msc and then hit Enter. This will open up a Local Group Policy Editor. Navigate to: Computer Configuration/Administrative Templates/Windows Components In the left pane look for the ‘Sync your settings’ option. Next, select the option and you will notice a list of group policies in the right pane like (Do not sync passwords, Do not sync App settings’, Do not Sync browser Settings, etc). Adjacent to these options you will find the ‘Edit policy setting’ option. Double-click on the option to open its setting panel. A new window will show up on your computer screen, from where you will be able to change the policy setting. Under it, you will find 3 options: Not Configured, Enabled and Disabled. Choose ‘Enabled’ from the list and click on ‘OK’. If you would like to know the effect of each option, select the individual option and read its description in the ‘Help’ section. Likewise, change the policy settings of other items, belonging to ‘Sync your settings’ group. After you have disabled all the sync-related policy settings, other PC users will be unable to change the sync settings from the PC Settings window. To enable it back, you have to choose the Not Configured option. Hope you found the post useful!
