Disable chat history in Microsoft Teams for Business
As stated, it is not possible to disable the chat history feature in Teams directly, therefore, we will have to take certain steps to get the job done. The information below will help you disable the chat history, so keep reading.
Disable Chat history via the Microsoft 365 Compliance Center
The plan here is to use the Microsoft 365 Compliance Center to disable the chat history. This is not ideal, but the best way at this time.
1] Log into the Microsoft 365 Compliance Center
The first thing you will want to do here is to make your way to the Microsoft 365 Compliance Center. Visit the official website then add your credentials, and from there, hit the Sign In button to move forward.
2] Navigate to Retention
In order to move on, we suggest navigating to Policies located at the left panel, and from there, select Retention Policies.
3] Go to New retention policy
Below the Retention Policies section, you should come across a button that reads, New retention policy. Please click on it and be sure to avoid the others.
4] Add a name for your Retention policy
To create a new policy, you must first add a name before hitting the Next button. If you want, it’s possible to also add a Description, but this is only an option.
5] Select a Retention policy type
The next step, then, is to choose a policy type. You should be seeing two options before your eyes. Adaptive (available with Microsoft 365 E5 license or equivalent), and Static. Please select Static, then hit the Next button to move on to the other phase.
6] Choose locations to apply the policy
OK, from the next phase, you will be required to choose a location to apply the newly created policy. First, be sure to set the Status of all Locations to except Teams chats to Off. After you’ve done that, decide who you want to be excluded and included from the policy. Bear in mind the defaults are Included: All users and Excluded: None, so if you need to make changes, please do so. Finally, hit the Next button.
7] Decide if you want to retain content, delete it, or both
From this section, you should select Only delete items when they reach a certain age. Once done, go to Delete items older than, ad select Custom. Add zero years then click on the Next button.
8] Complete the task
After you’ve hit the Next button, Microsoft 365 will give you the ability to review the changes made before setting them into stone. If you’re satisfied, then click on Submit and that’s it, your Microsoft Teams chat history will be disabled, though it might take up to 24 hours.
Disable chat history in Microsoft Teams’ personal version
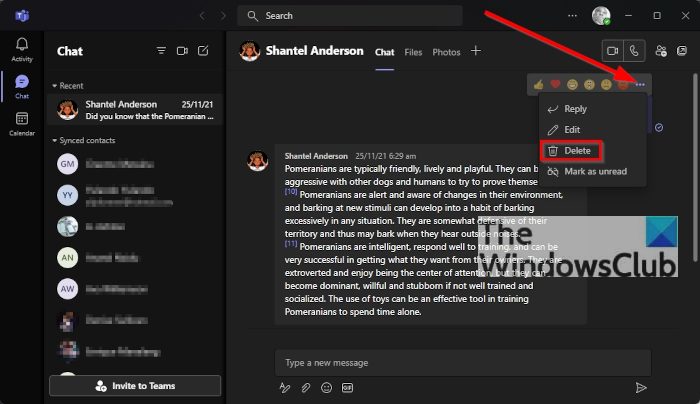
OK, so this is not possible at all. However, you can delete your chat history, but know this, it won’t be deleted for others involved in the chat. In order to delete chat history for yourself, please open the chat, then click on the three-dotted icon. From the dropdown menu, select Delete Chat, then confirm your decision by clicking on Yes, and that’s it, you’re done.
Is Microsoft Teams free?
There is a free version of Microsoft Teams, so if you’re not inclined to spend or are not part of a business, then the free version is the perfect option.
Do you have to download Microsoft Teams?
If you’re using an older version of Windows, then yes, you are required to download and install Microsoft Teams onto your computer. With the Windows 11 operating system, Teams is loaded on by default. But there is a Teams web app too that you can use in your browser. Read: Microsoft Teams Web app not working or loading.

