Before you read on, you should know that our portable freeware Ultimate Windows Tweaker lets you disable Bing web search results with a click. UPDATE: Windows 11 and Windows 10 v2004 and later may have to follow this procedure to disable Bing Search results in Start Menu.
Disable Bing web search results in Windows 10 Start Menu
Using Registry
The method which we will use below contains steps that explain to you how to modify the Registry. Make sure to create a restore point before going ahead. Earlier, changing settings on Cortana and modifying group policy used to work correctly. However, since Cortana is separate from Windows Search, you cannot use them anymore. Instead, you will need to change the registry settings to disable the web search result from appearing. Open Registry Editor by pressing Windows + R in combination, typing ‘regedit’ in the ‘Run’ dialogue box and hitting ‘Enter’. Navigate to the following path: Change the value of these DWORD keys to 0
AllowSearchToUseLocationBingSearchEnabledCortanaConsent
The chances are that you will not see the BingSearchEnabled or AllowSearchToUseLocation DWORD keys. It did not exist in my registry. So I created it.
Right-click on the right pane when you are in the Search folder.Click on New > DWORD 32-bitName the key as BingSearchEnabled / AllowSearchToUseLocationMake sure its value is 0 (zero).
Exit the Registry Editor, and click on the search button on the taskbar. You should not see the Web section here or when you type. Usually restart is not required, but you can choose to do so if the change doesn’t reflect. This will disable Cortana as well. So if you have plans to use it, then there is no other way around. I have tried changing settings one by one, but it doesn’t work. They both should have the same value.
Using Group Policy settings
It is interesting to note that related Group Policy configurations are also available. The settings are:
Don’t search the web or display web resultsDo not allow web search
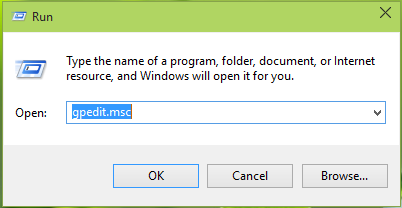
In Windows Pro & Enterprise Editions, press Windows Key + R combination, type put gpedit.msc in the Run dialog box and hit Enter to open the Local Group Policy Editor.
In the left pane of Local Group Policy Editor window, navigate here:
Moving on, on the right side of the above-shown window and scroll down to look for Settings named Do not allow web search and Don’t search the web or display web results in Search. Both of these are Not Configured by default. Double click on any one of them:
Finally, in the above-shown window, select Enabled and click Apply followed by OK. Enable the other Setting in a similar way. Close Local Group Policy Editor now. Reboot the machine to make changes effective. After restarting the machine, you’ll find that web search results are no longer displayed. In case, if you later want to get web search results, simply restore both policies to Not Configured status. Hope this helps.