Now, when a person wants to have an easy-to-read visual item that is done in chronological order, the best option to take is to make use of the Timeline chart feature. Folks can use the Timeline feature in Google Sheets to show expenses, revenues, attendance, sales, inventory, and other types of numeric information. We like this chart because it comes packed with a zoom feature that makes it possible for users to focus on specific days, weeks, or months.
How to create a Timeline Chart in Google Sheets
In order to create a Timeline chart, we suggest following the steps laid out below to get the job done:
1] Go to the Google Sheets main menu
Before we can begin, users must first load up Google Sheets in their preferred web browser. Let us look at how to get this done right now.
OK, so open your web browser, and from there, navigate to the official Google Sheets website.From there, sign in with your Google account if you have not done so already.You should now be seeing a list of all the documents worked on in the past.
2] Open a new Sheet
After you’ve entered the main area, you are required to open a blank Sheet.This can be done by clicking on Blank.The next step is to populate the Sheet with relevant data.If you’ve selected a Sheet that was created beforehand, then there is no need to add more information if not required.
3] Create a Timeline chart
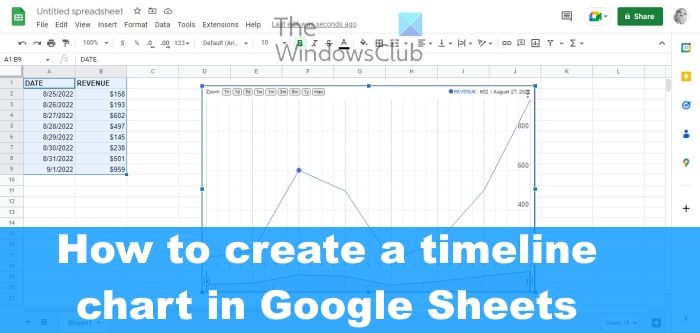
After opening a Sheet, it is now time to create a Timeline chart. The folks at Google have made this extremely easy to accomplish, so let us take a look.
First, you must select all the data located on your sheet.Those who want to include their column headers should select them.Next, please click on Insert, then select Chart via the top menu.You are now required to click on the Insert Chart button located on the toolbar.
A default chart display will appear. All you have to do is change it to a Timeline chart. Do this by looking at the sidebar, then select the Setup tab.
Once done, you should see a dropdown box. Please select the Timeline chart from this box. If you’re interested in using headers, then waste no time by checking the box next to “Use Row 1 as Headers.”
4] Customize your Timeline chart
Not everyone wants to do this, but for those who feel the need, then the option is there to customize the Timeline chart with ease.
Navigate to the Customize tab from within the Chart Editor.Select the Edit Chart section right away.Next, you must expand the Timeline section located on the Customize tab.You will see several options for customizing your Timeline chart in a way that fits your need.
5] Timeline chart customization options
The below options are what you can take advantage of to get things moving in the right direction where customization is concerned:
Fill Opacity: This is all about selecting a percentage to fill the portion that sits at the bottom of the line on the chart.Line Thickness: Choose a thickness in pixels for the line on the chart.Values Suffix: This function adds a suffix for display on your chart. This is very important for those who want to expand data on the chart instead on the sheet.Date Format: If you want to choose a different date format, then select this option.Min and Max: Folks who are not interested in displaying their numeric data values on the vertical axis can use this option to enter a specific minimum and maximum value instead.
Out of all the charts available to the user, the Gantt chart is the best for Timelines. It features various-sized bars, making it perfect for project management. But others like Vertical bar charts, Chronological charts & Static and interactive timeline charts have their purpose too. READ: How to calculate Time in Google Sheets
Does Google Sheets have a Timeline template?
Yes, it does offer some Timeline templates. Check the apps section to see if you can come across a Timeline template for Google Sheets that you want. If not, you may have to create your own from scratch.