These Publisher certificates can be used for birthdays, anniversaries, achievements at school or work, a great way to say thank you, great for employee recognition and so many more. Publisher certificates can be used for so many occasions and they are cheap and easy to make. This makes them an easy go-to for that person or occasion. Publisher certificates are also very customizable and can be used for multiple persons and occasions. Below are just a few of the occasions that Publisher calendars can be used for.
Sports achievementEmployee of the monthSchool achievementGraduation certificateAnniversary certificateGift certificate.
Create a Certificate with Publisher
Let us explore these steps on how to make these awesome certificates.
1] Purpose of the certificate
Deciding on the purpose of the certificate will make everything else fall into place much easier. The purpose of the certificate will also decide the color, wording, paper, font, and so many other things. Will you make if for professional graduation or for a child who scored high in school, for an employee who made or exceeded a sales target, or for a child that did the dishes? A professional graduation certificate will require a more professional look. A certificate for a child who did well may have a more colorful playful look. The purpose of the certificate will also help to decide the paper that it will be printed on.
2] Make a note of how many persons will receive the certificate
Make careful note of the information for the certificate. Be sure to get the correct spelling for names and other information. It is quite embarrassing to give a certificate with the wrong information. Have an accurate list with the information and have the information checked over by someone else, fresh eyes might pick up errors.
3] Decide on the best paper to print on
The purpose of the certificate will sometimes dictate the type of paper. The paper might seem simple, but the type of paper can send a message, especially for professional type certificates. For print at home certificates, the type of paper will have a different look depending on the type of printer used. Inkjet or laser printer will give a different quality print on different paper. Choose paper that will best match your printer.
4] Gather photos and digitize if needed
Some certificates might be personalized with a picture of the receiver. There might be other things placed on the certificate as well. Gather all items and whatever needs to be digitized should be. Use a camera or scanner, or search online to find these items to add to the certificate. If you are skilled, graphic software can be used to edit photos or to even create a custom border for the certificate. The graphic software can also be used to create a nice background for the certificate. The certificate will require the signatures of the authorized persons, you may choose to digitize signatures or print certificates then have authorized person sign.
5] Creating the Publisher certificate
Now to get to the fun part of creating the Publisher certificate. With all the preparation done, creating the certificate should be a breeze.
Click start go to the Microsoft Office icon and click it.
Click Publisher if it is displayed or just click All apps then click Publisher.
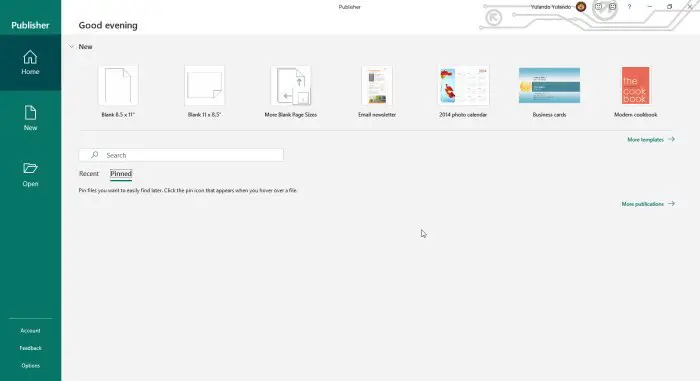
Click more templates to bring up more templates and to also see the options for Office online templates or Built-in templates that are located on your computer.
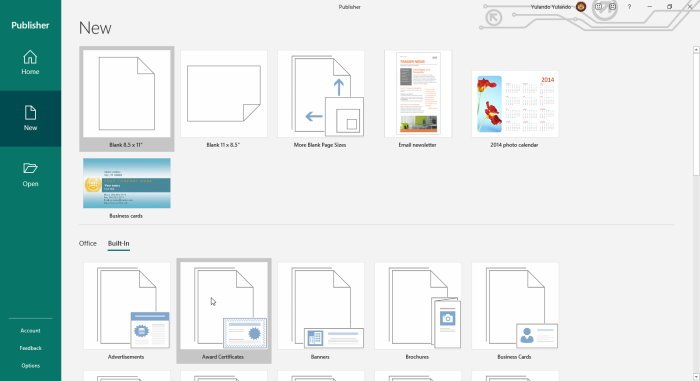
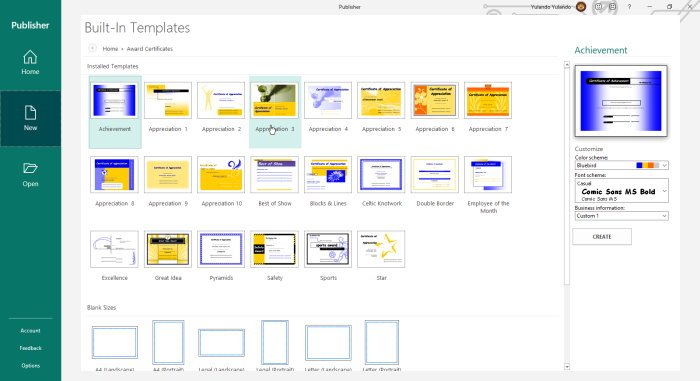
Click Built-in and then click Award Certificates, this will bring up a lot of options for styles of certificates.
Choose the style certificate you like and modify it further by choosing the color scheme, font scheme, and adding business information. When this is all done just Click Create to start working on your certificate of choice. You will notice that the choices of certificates fall under different categories and each has a different design. You may modify the template and if you have graphics skills, you could build background and other artwork to enhance the certificate. Remember to save as you go along just in case of any eventualities, you would not have to start all over. Read: How to create awesome Calendars with Microsoft Publisher.
6] Printing Publisher certificates
Remember that the certificate will need to be authenticated so you will need to decide if you will use a digital copy of the signatures, or if you will print then have them signed. The type of paper is very important if the certificates are for professional use. Thick papers with some gloss will make the certificates stand out. For cases where there are multiple certificates for different persons of occasions, you may choose to save them separately or change the details one by one and print at the same time. If you print at home and the printer is inkjet, it is best to use a matte or semi-gloss paper. High gloss paper might cause the ink to be runny or rub off. High gloss paper is best for laser printers, low gloss and matte papers are best for inkjet printers. Publisher certificates are good for any occasion that you may think of. They can be done at home and don’t have to cost anything much. Be sure to explore the different options, no professional skills are needed to create awesome certificates. The Publisher certificates can be customized by adding custom graphics and backgrounds.