What is the media cache in Premiere Pro?
We import a lot of videos, audio, and other media files into Premiere Pro regularly to work on them. To make those files available fast and readily, Premiere Pro processes them in the background and stores them as a cache. It is called media cache on Premiere Pro. The cache is stored in the media cache folder or Premiere Pro along with the media cache database files which store links to each media cache file. The Media Cache is where the Premiere Pro stores important accelerator files like peak files (.pek) and conformed audio (.cfa) files. It is better to clear old or unused media cache to see the better performance of Premiere Pro. Whenever you import the files of delete cache again, the cache files are created again for optimal performance.
How to clear Media Cache in Premiere Pro
To clear the media cache on Premiere Pro, you need to follow the below steps: Let’s get into the details of the process. To get started, launch Premiere Pro and launch a previous edit file. On the Premiere Pro windows, click on Edit in the menu bar and hover over to Preferences in the Edit menu. Then, select Media Cache by clicking on it.
It will open a Preferences window with Media Cache selected. Under the Media Cache Files section, you will see Remove Media Cache Files with a Delete button beside it. Click on it to remove media cache files.
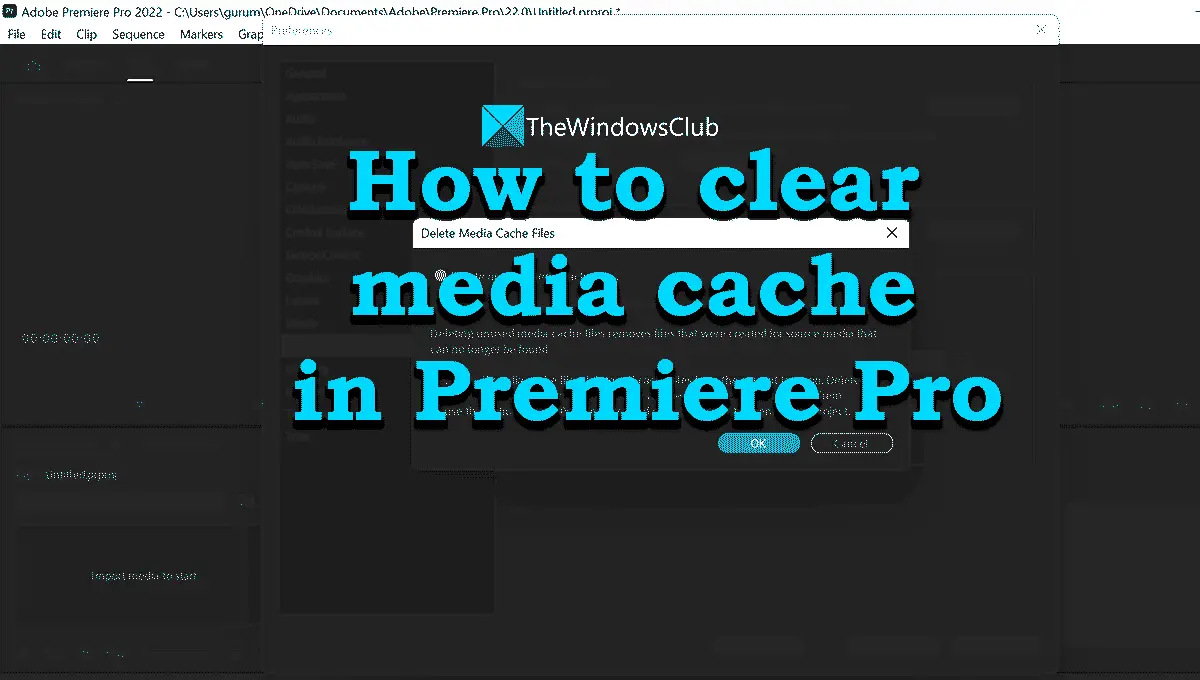
You will see the Delete Media Cache Files dialog box asking you to choose which media cache files have to be deleted. Check the box beside Delete unused media cache files and click OK to delete them.
This is how you can delete or clear the media cache in Premiere Pro. Read: How to save or export Premiere Pro projects to MP4
How to manage Media Cache on Premiere Pro
You can also manage the media cache on the Premiere Pro by setting the media cache to delete automatically after certain days or delete the oldest media cache files after it reaches a certain size, or choose to not delete media cache files automatically. These options to manage media cache are available in the Media Cache Preferences window.
You need to check the button beside Do not delete cache files automatically to delete them manually when you want.If you want the media files to be deleted automatically after certain days, check the button beside Automatically delete cache files older than 90 days, where you have to enter the number of days in the days’ box by replacing the default 90 days.If you want to delete the media cache after it reaches a certain size, you need to check the button beside Automatically delete oldest cache files when cache exceeds 24 GB, where you need to replace the default 24 with the size limit you want.
Read: How to stabilize Shaky Video Footage in Adobe Premiere Pro
How do I delete the media cache in Premiere Pro?
Deleting the media cache on Premiere Pro is a straightforward task. Launch Premiere Pro and launch any project. Then, click on Edit in the menu bar and hover over to Preferences, and select Media Cache. Then, click on the Delete button beside Remove media cache files and select unused media cache files in the prompt window.
Where is the Adobe media cache files location?
By default, the media cache folder is located at: C:\Users<username>\AppData\Roaming\Adobe\Common\Media Cache Files.
Should I clear media cache Premiere Pro?
Yes, you should clear the media cache on Premiere Pro regularly for the optimal performance of Premiere Pro removing the burden on the disk. You can also set them to delete automatically on certain days or after reaching a certain size. Related read: Premiere Pro crashing or stops working on Windows 11/10.
