Change ScreenSaver timeout setting in Windows 1/110
In Windows 11/10, the screensaver is usually turned off by default, but if somebody has turned it on for you, here is how to change the timing or disable it. You can change Screensaver lock screen timeout settings in Windows 11/10 using Screensaver Settings, Registry Editor or Group Policy Editor. The last two options will need administrative privileges, and useful when you want to apply on remote or multiple computers.
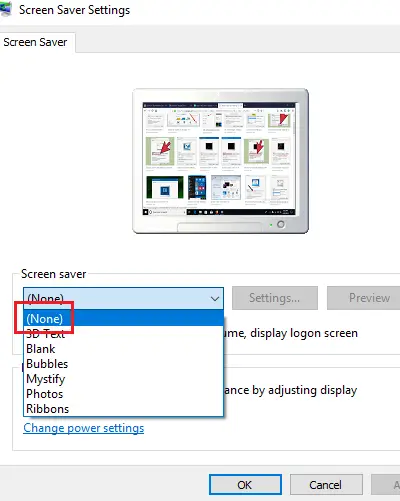
1] Change Screensaver time via Settings
Read: How to change Lock Screen Timeout Period in Windows 11/10
2] Change Screensaver time via Registry
Open regedit and navigate to the following location: Here in the right pane, right-click Windows and select > New > Key. Name it Control Panel. Right-click on this Control Panel and again select > New > Key. Name it Desktop. Next, click on the Desktop key to highlight it. Now in the right pane, right click empty space > New > String Value > Type ScreenSaveTimeOut > Enter. Finally right click ScreenSaveTimeOut > Modify > give it a Value Data in seconds.
3] Change via Group Policy Editor
Type gpedit.msc in the Run prompt, and hit Enter to open Group Policy EditorNavigate to User Configuration > Administrative Templates> Control Panel > Personalization.Find a policy with the name “Screen saver timeout.” Double click to open it.Enable it, and then add screen timeout in seconds.Then Apply, and click OK button.Restart the computer.
If you want to disable the screensaver, there is a policy setting with the name — Enable Screen Saver. Choose to disable it. These are the three ways to change screensaver timeout in Windows. Now read: How to customize Screensaver in Windows 11/10.