If you wish you can easily edit, add or change the OEM information, by modifying the registry.
Add or Change OEM Information in Windows 11/10
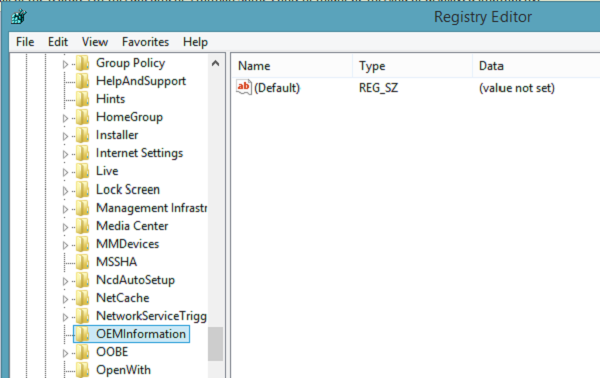
Open ‘Registry Editor’ and navigate to the following key –
If your PC is an OEM product it will bear the manufacturer name and support information. A number of strings will be seen listed with the following Value Names: Users having a clean install of Windows will see no values corresponding to these strings.
To add OEM information, select the kind of information you want to be listed in your Control Panel and begin creating values for each desired field, giving the value names mentioned above in the list. Select the OEM key (left), right-click in the right section of the window and select New > String Value. with value type REG_SZ and give it the name “Manufacturer”.
Next, double-click on the value to open the Edit String window and enter your custom information into the Value Data box. Here, I want my PC’s custom manufacturer to be identified as The Windows Club or TWC. Press OK to save the value.
Next, open the Control Panel and see the ‘System’ section. You’ll see your new Manufacturer information listed there. If you add other values, such as a support telephone number or website, they’ll appear in a separate “Support” section of the window.
One can even select a custom logo image. Do not keep the size however more than 150 Pixels. Also, save the image in BMP format for the best results. Simply provide the “Logo” value to the path on your drive where the image is saved. If you wish, you can also use freeware to change System Information. Our Ultimate Windows Tweaker lets you change all this in a click.