Add Create Restore Point to Context Menu
We can add or remove Create Restore Point Context Menu in Windows 10 in either of 2 ways as follows:
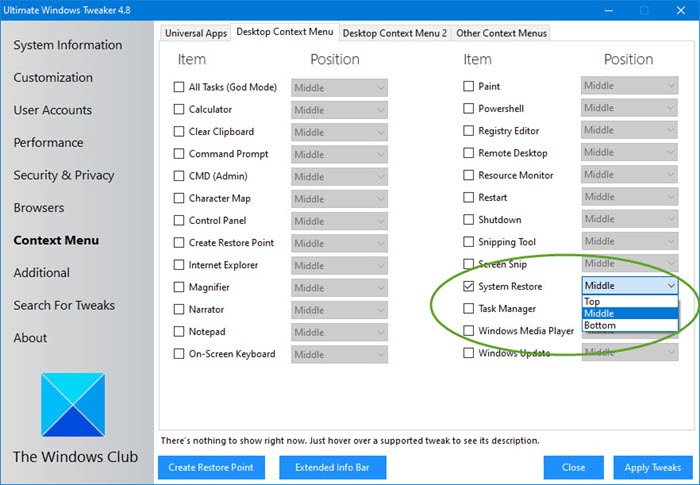
1] Use Ultimate Windows Tweaker (UWT)
You can use our portable freeware Ultimate Windows Tweaker to carry out this task in just a few clicks. You will see the setting under Context Menu > Desktop Context Menu section. Best to right-click it executable and run it as Administrator.
2] Using Registry (.reg) file
Since this is a registry operation, it is recommended that you back up the registry or create a system restore point as necessary precautionary measures. To add Create Restore Point to Context Menu in Windows 10, do the following:
Press Windows key + R to invoke the Run dialog.In the Run dialog box, type notepad and hit Enter to open Notepad.Copy and paste the code below into the text editor.
Now, click the File option from the menu and select Save As button.Choose a location (preferably desktop) where you want to save the file.Enter a name with .reg extension (eg; AddCRP-To-ConMenu.reg).Choose All Files from the Save as type drop-down list.Double-click the saved .reg file to merge it.If prompted, click on Run > Yes (UAC) > Yes > OK to approve the merge.You can now delete the .reg file if you like.
To remove Create Restore Point to Context Menu in Windows 10, do the following:
Open Notepad.Copy and paste the code below into the text editor.
Repeat the same process as above, but this time save the reg file as RemoveCRP-From-ConMenu.reg.
That’s it on how to add or remove Create Restore Point to Context Menu in Windows 10! Related post: How to add any application to right-click menu.