Add and edit classic SharePoint pages
We’ll learn in this tutorial how to: To create, edit, or delete a SharePoint page you must have the required permissions. These can be obtained by becoming a member of the Designers SharePoint group for the site.
1] Create a classic SharePoint page
The site for which you would like to create the page, you’ll have to do the following –
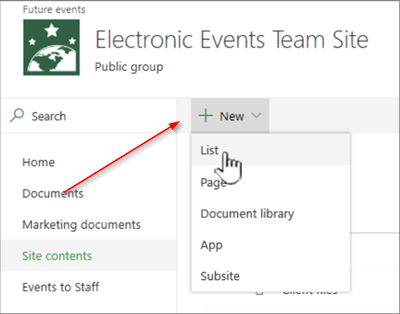
Go to ‘Site Contents’. You can find the option on the left side navigation or access it directly from the ‘Settings’. Next, navigate to the ‘Site Pages’ library, and click ‘+New’. Thereafter, type the ‘New page name’, and hit the ‘Create’ button. You will notice that the page is created and will be opened for editing in the browser. It is important here to note that the steps for creating a page can vary, depending on factors such as the type of site and the permissions you have for the site.
2] Edit a classic SharePoint page
On your page, find the ‘Page’ tab and when seen, click the tab. Next, choose ‘Edit’ option. This step is optional as a newly created page is already opened for editing.
[Images source – support.office.com] To configure the columns, sidebar, header, and footer for a page, click ‘Text Layout’ tab visible on the ribbon and select the desired option. Type the text for the page. Here, if you would like to add objects to a page, choose the ‘Insert’ tab from the ribbon and use the commands to add tables, media, links, and Web Parts to the page. When you are done with the editing part, click ‘Save’ on the Page tab.
3] Delete a classic SharePoint page
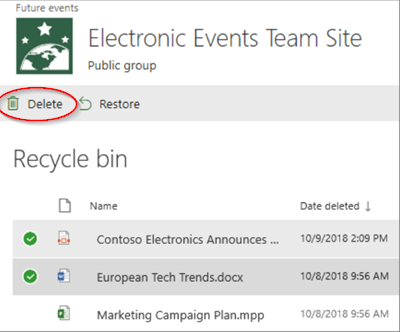
If you would like to delete the SharePoint page you just create, choose the ‘Page’ tab and then click ‘Delete’ Page. When prompted with the message, hit OK.
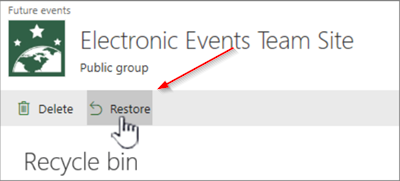
The action when confirmed, will move the page to the Recycle Bin for deletion. If you accidentally deleted the page, restore it. Hope this helps.


