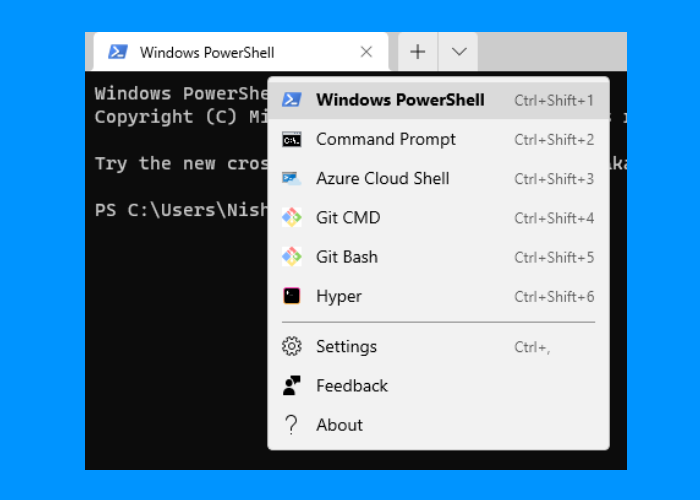
How to add a new profile to Windows Terminal
The command-line tool that you want to add to Windows Terminal should be installed on your system because you have to add its path in the Windows Terminal. Follow the below-listed steps to add a new profile to Windows Terminal. 1] Launch Windows Terminal, click on the drop-down arrow on the Title Bar, and select Settings. Alternatively, you can also open the Settings by pressing Ctrl + , keys.
2] Now, click on the Add New button on the left side. Under the General tab, you can assign the Name to the profile that you are going to create, upload its icon, and assign its Tab Title. To upload the icon, click on the Browse button and select the image file. JPG, PNG, BMP, ICO are some of the image formats that Windows Terminal supports. The size of the icon image should be 16 x 16 pixels. Read: How to Change Default Color Scheme in Windows Terminal. 3] In the Command Line box, you have to add the location of the file. For this, click on the Browse button and select the file from your computer. 4] When you are done, click on the Save button. Similarly, by following the above steps you can add multiple profiles to the Windows Terminal. You can also customize the profile, such as change the cursor shape, add an image background to the profile, etc. These customization options are available in the Appearance and Advanced tabs. We hope you liked the article. Related posts:
How to change Default Key Bindings in Windows Terminal.How to reset Windows Terminal settings to default.

