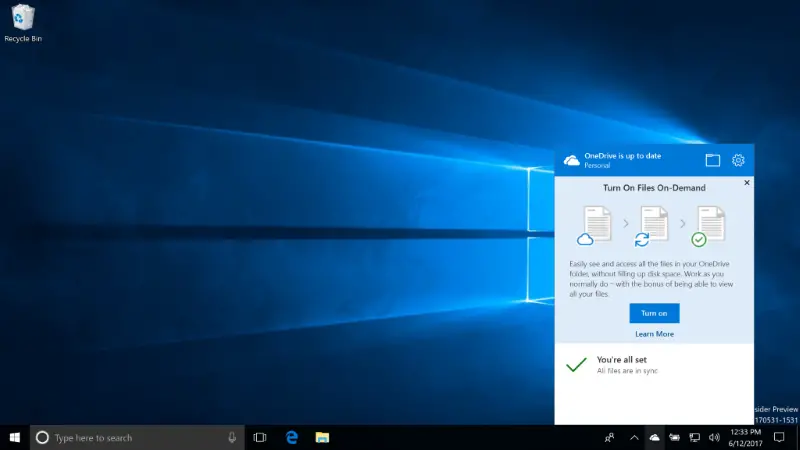
Turn on OneDrive Files On-Demand
To do this, you’ll have to right-click on the OneDrive icon via the Windows taskbar, and click on Settings.
If the Settings tab is not selected by default, simply switch to it. Now then, it’s time to locate the Files On-Demand feature. It sits below Notifications, so you’ll need to tick the box, then select OK and move on from there.
The change goes active right away, which means, Microsoft OneDrive will no longer download files if the service is currently transferring data to the computer. From here on, OneDrive will display files and folders from your account in a placeholder setting on the computer.
Basically, the folders and files are visible but are of no use since they are not on the computer. To download these files and folders to the PC, double-click on the file and it will automatically download itself to the local system.
OneDrive Icons you need to know about
There are three overlay icons that you need to know about.
A file with the cloud icon indicates the file is not available on the local computer. To get it on the computer, double-click the file, and that’s it.The next icon is a green check mark, which means, the file is stored on the computer and can be accessed even without an Internet connection.The final icon is a white check mark, which indicates the file is saved locally and is set to “always keep on this device.”
Additionally, these files can also be accessed without connecting to the web. You can also turn on Files On-Demand on Windows 11/10 using the Local Group Policy Editor and Registry Editor. To use the GPEDIT method, you need to add OneDrive sync settings in Local Group Policy Editor first.
How to turn on OneDrive Files On-Demand using Group Policy
To turn on OneDrive Files On-Demand using Group Policy, follow these steps: To learn more about these steps, continue reading. First, you need to open the Local Group Policy Editor. For that, press Win+R to display the Run prompt, type gpedit.msc, and press the Enter button. Then, navigate to the following path: Here you can find a setting called Use OneDrive Files On-Demand on the right side. You need to double-click on it and choose the Enabled option.
Then, click the OK button to save the change.
How to activate OneDrive Files On-Demand using Registry
To activate OneDrive Files On-Demand using Registry, follow these steps: Let’s check out these steps in detail. First, you need to open the Registry Editor on your computer. For that, press Win+R > type regedit > press the Enter button and click on the Yes option. Next, follow the following path: Right-click on Microsoft > New > Key and name it as OneDrive. Next, right-click on OneDrive > New > DWORD (32-bit) Value and set the name as FilesOnDemandEnabled.
Double-click on it and set the Value data as 1.
Click the OK button and restart your computer.
How do I enable OneDrive on-demand?
To enable OneDrive Files On-Demand, you have three options. You can use the OneDrive’s Settings panel, Local Group Policy Editor, and the Registry Editor. However, if you want to enable it for the current user only, you can use the first method. On the other hand, if you want to turn it on for all users, you can use the second or third method.
How does Files On-Demand work in OneDrive?
If you enable OneDrive Files On-Demand, you will not have to download all the files on your computer to use them. You can get the necessary files when they are needed. Once you choose the file to use, it will be downloaded to your computer automatically.