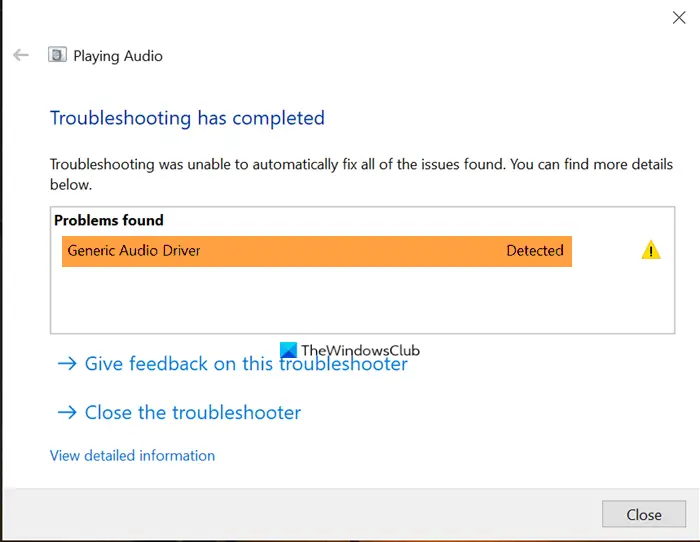
Different factors can cause sound problems in your Windows system, and your first course of action is usually to turn to the Windows Troubleshooter. If the Windows Audio Troubleshooter gives feedback saying Generic Audio Driver Detected, you can get confused because the message doesn’t specify a fix or an exact cause of the issue. From the message, you can, however, tell that it’s something to do with your audio driver. If you’re experiencing this issue, read this article to learn how to fix it.
Generic Audio Driver Detected in Windows
Now that you have a brief overview of what it means when Windows detects a generic driver, you’re set to fix it. To get rid of this issue, here are the steps to take. I advise that you follow them in the order in which I’ve provided them. Kindly continue reading this guide to learn how to perform the above operations without running into further complications.
1] Enable your audio services
The first basic troubleshooting step to fixing audio problems is to confirm that the relevant audio services are enabled and started. Open the Run dialog box with the Windows key + R combination and search for services.msc. From the list of services, find:
Windows Audio andWindows Audio Endpoint Builder.
For each of these services, check under the Status column to see if they’re running.
If these services aren’t running, right-click on each of them and hit Start. You also have to set them to start running automatically without having to click on Start.
To do this, double-click on the service and change the Startup type to Automatic. Click on the OK button to save your changes. Read: One or more audio service isn’t running.
2] Update your audio driver
If you reinstall the driver, but Windows continues to detect generic audio drivers, then you may need to update the driver. Outdated drivers can also cause these audio problems on computers. Open Device Manager again. Scroll through the Device Manager and find the Sound, video, and game controllers section. Click to expand it. In this section, right-click on your audio driver and hit the Update driver button. Choose how you wish to update the drivers – either over the internet or from your local storage. Follow the on-screen steps to update your drivers. After that, reboot the computer to finalize the updating and remove the outdated driver software. These solutions are recommended to tackle the annoying generic audio driver detected problem. Read: No Audio Output Device is Installed.
3] Reinstall your audio driver
Your audio driver may be buggy or corrupt, and the only way to fix this is to reinstall the driver. First, go to Device Manager by opening the Run dialog box and searching for devmgmt.msc. From the list of devices, find Sound, video, and game controllers and expand it. Right-click on the driver under this section and select Uninstall.
Follow the on-screen instructions on the wizard to complete the uninstallation. After this, restart your machine. Don’t be scared of losing your audio driver by uninstalling it. The driver’s installation software is already on your computer. So, on restart, the PC notices that the audio driver is not installed and then goes ahead to reinstall it, thereby, fixing your audio issues. A better option might be to visit the manufacturer’s site to download the audio driver and install it. All the best!