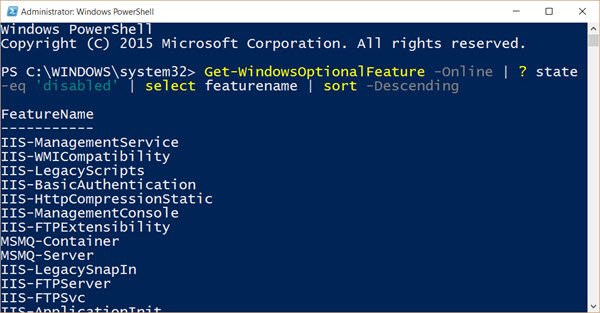
Generate Disabled Features list in Windows using PowerShell
To generate a list of the disabled features on your Windows 10 computer, open an elevated PowerShell console, type the following command and hit Enter: To open an elevated PowerShell prompt, in the taskbar search, type powershell. Now see the result Windows PowerShell which appears on the top. Right-click on it and select Run as Administrator. You will now be able to see a list of disabled Windows features on your computer.
Now take a look at how to generate a list of Windows Services using PowerShell.
How do I get a list of Windows features in PowerShell?
To get a list of all Windows features using PowerShell, you can use a simple command: Get-WindowsFeature | where{$_.InstallState -eq “Installed”}. This command works on Windows 11 as well as Windows 10. However, you need to use the elevated PowerShell or Windows Terminal window.
How do I turn Windows features on or off in PowerShell?
To turn Windows features on or off in PowerShell, you need to obtain the list of all features first using this command: get-windowsoptionalfeature -online. Then, you need to enter a command in this format: get-windowsoptionalfeature -online -featurename NetFx3. Don’t forget to replace the featurename with the original name of the feature. If you are looking for more PowerShell tips, these links may interest you: