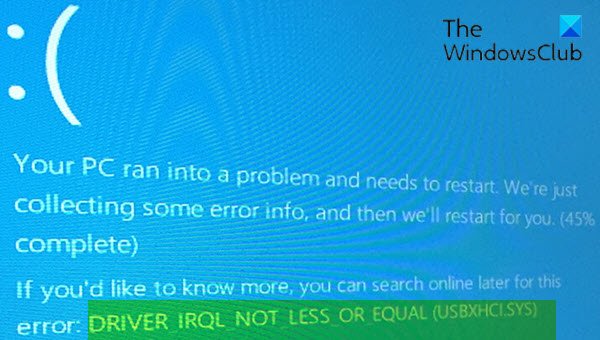
Fix USBXHCI.sys Blue Screen error
If you’re faced with this issue, you can try our recommended solutions below in no particular order and see if that helps to resolve the issue. Let’s take a look at the description of the process involved concerning each of the listed solutions. If you can log in normally, good; else you will have to boot into Safe Mode, enter Advanced Startup options screen, or use the Installation Media to boot to be able to carry out these instructions.
1] Run the Blue Screen Online Troubleshooter
Running the Blue Screen Online Troubleshooter will likely fix the USBXHCI.sys Blue Screen error. If not, try the next solution.
2] Uninstall and Reinstall USB drivers
Do the following:
Press Windows key + R to invoke the Run dialog.In the Run dialog box, type devmgmt.msc and hit Enter to open Device Manager.Once you’re inside Device Manager, scroll down through the list of installed devicesExpand the Universal Serial Bus Controller section.Right-click on the USB Root Hub and click on Uninstall.Now check the box Delete the driver software for this device.Click on UninstallRestart the PC when the uninstall process completes.
On boot, Windows will reinstall the USB drivers. Still, having the same issue? Try the next solution.
3] Uninstall USB xHCI Compliant Host Controller driver
Do the following:
Open Device Manager.Once you’re inside Device Manager, scroll down through the list of installed devicesExpand the Universal Serial Bus Controller section.Right-click on USB XHCI Compliant Host Controller and click Uninstall.Now check the box Delete the driver software for this device when prompted.Click on UninstallRestart the PC when the uninstall process completes.
On boot, Windows will reinstall the drivers. However, you may still receive the error. In which case, you can either update the USB xHCI Compliant Host Controller drivers manually via the Device Manager, or, if available, you can get the driver updates on the Optional Updates section under Windows Update. You may also automatically update the driver.
4] Scan for memory issues
If you added a new RAM stick, remove it and check if that is causing the error. If not, then you need to run a memory test. Windows will initiate checking for the abnormalities in RAM. If it finds any, you need to replace the affected RAM.
5] Perform System Restore
At this point, if none of the above solutions worked for you, you can restore your system to an earlier point. This will restore your system to an earlier point when the system was working correctly.
6] Reset Windows 11/10
This solution requires you to reset Windows 11/10 making sure your data is preserved, and see if that helps. Hope this helps!