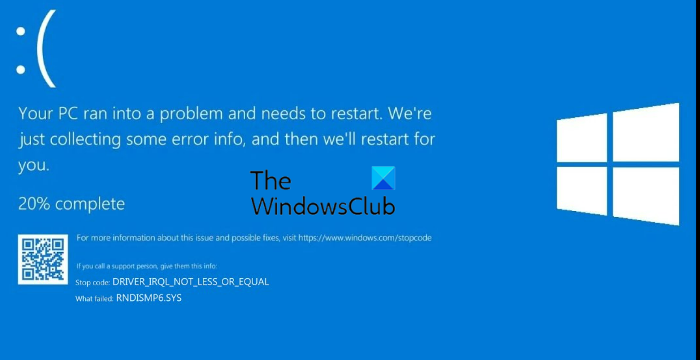
Fix RNDISMP6.SYS failed Blue Screen on Windows 11/10
Follow the suggestions if the RNDISMP6.SYS failed Blue Screen keeps occurring on your Windows device: Now let us see these in detail.
1] Run Network Adapter Troubleshooter
Before getting started with different troubleshooting methods to fix this issue, try running Microsoft’s Automated Troubleshooting Services as a first step to diagnose and repair common Network issues. Here’s how:
2] Run SFC and DISM Scans
RNDISMP6.SYS failed Blue Screen may occur due to corrupted/damaged Windows system files or system image corruptions. Run SFC and DISM to scan and repair these. Here’s how: Click on the Windows key and search for Command Prompt. Click on Run as Administrator. Type the following commands one by one and hit Enter: For SFC: For DISM: Restart your device once done and check if the Kernelbase.dll making applications crash is fixed.
3] Update USB and Network Drivers
Outdated or corrupted USB and Network drivers can also be responsible for RNDISMP6.SYS failed Blue Screen. Update your device’s Network drivers and check if the issue gets fixed. Here’s how you can do it:
4] Disable the netsetupsvc service and make modifications in the Registry Editor
If you’re still unable to fix this error, disable the Network Setup Service (NetSetupSvc) service, make modifications in the Registry Editor and then re-enable it. Here’s how: Press the Start button, search for Command Prompt, and select Run as Administrator. Type in the following command and hit Enter. Now, press the Windows key + R to open the Run dialog box. Type regedit and hit Enter. Once the Registry Editor opens, navigate to the following path: Add three DWORD named IfType, MediaType, and PhysicalMediaType set to 6, 0, and E, respectively.
Again, open Command Prompt and enable netsetupsvc by running the following command. Once done, restart your PC and check if the RNDISMP6.SYS error gets fixed.
5] Run these Network Commands
Running the network commands will reset the TCP/IP stack, renew the IP address, Reset Winsock and flush the DNS client resolver cache. Here’s how you can do it: Press the Windows key, search for Command Prompt, and select Run as Administrator. Type the following commands one by one and hit Enter. Restart your device once done.
6] Reset Network Settings
If none of these steps were able to help you, reset the network settings of your device. Performing a Network reset will remove and then reinstall all your network adaptors. It will also reset all related settings to their defaults. Here is how you can do it:
7] System Restore to a point before the problem started
Blue Screen errors can occur due to install failure or data corruption, System Restore can make your device to working condition without reinstalling the operating system. Doing so will repair the Windows environment by installing the files and settings saved in the restore point. Here’s how you can perform a System Restore. Note that this can be done only if you’ve created a System Restore Point earlier. Fix: ndis.sys failed BSOD error BUGCODE_NDIS_DRIVER
Why does Windows 11 have blue screen error?
A blue screen error often causes your device to crash, shut down or restart unexpectedly. When this error occurs, a blue screen with a message your device ran into a problem and needs to restart will be visible. Errors like these off these often occur due to corrupted drivers and system files.