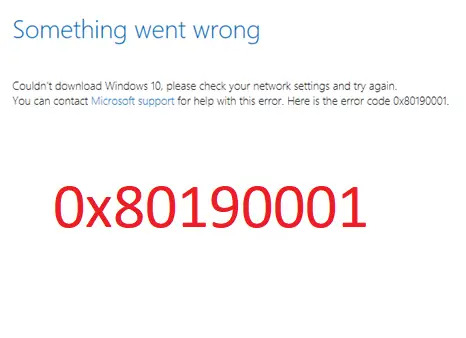
Fix Error Code 0x80190001
Before you begin, ensure that your Internet connection is working. If need be, run the Network Troubleshooters. 1] Clean Up Temporary and Junk Files Windows 10 comes with Storage Sense feature which can either automatically clean all the temporary files from your computer or you can do it manually. When you run it manually, it will scan through the storage and offer you a list of files that you can delete. However, make sure to check folders like download where you keep downloading files. This will make sure you are not deleting important files. 2] Delete Files from Software Distribution Folder Follow this procedure to clear the contents of the SoftwareDistribution folder. Once done try to install the Update again. 3] Run Windows Update Troubleshooter Run this inbuilt Windows Update Troubleshooter to fix the most common Update problems on Windows 10. It will clear the Windows Update related temporary files, clear the contents of the Software Distribution folder, repair and reset Windows Update components, check the status of Windows Update-related Services, check for pending updates and more.
4] Disable Antivirus during Setup This error code has been marked to be often triggered by external tools. It is possible that your files are just fine, and it’s the Antivirus which is the cause. You can disable the Anti-Virus and Security software whenever an update is not going smoothly. You can either disable such software or completely uninstall them till you fix the Update issues. 5] Use Media Creation Tool or ISO If this does not help, we suggest you to use the Media Creation Tool or Windows 11/10 ISO to install the feature update. All the best!
