What is CxUIUSvc Service?
CxUIUSvc Service is a component of Conexant SmartAudio II Service. Cxuiusvc is also known as Conexant Utility Service, as is there on your system to allow users to control program settings related to Conexant audio chipsets. However, it is not an essential program and can be disabled.
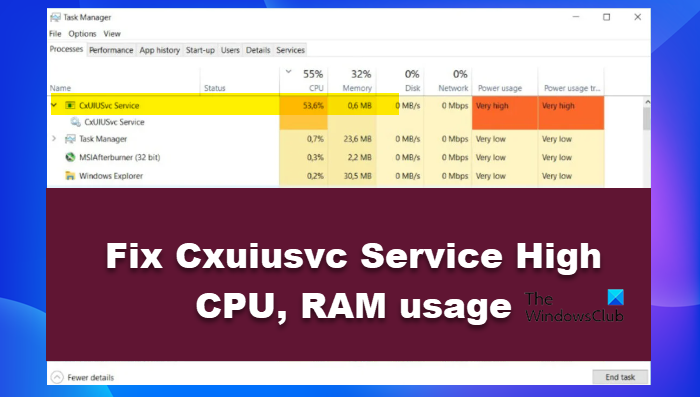
Fix CxUIUSvc Service High CPU, RAM usage
If you are faced with CxUIUSvc Service high CPU, RAM usage issue on your Windows 11/10 computer, try the following solutions. Let us talk about them in detail.
1] End the task or Restart PC
Maybe the issue is nothing but a glitch that can be easily resolved if you just end the process this one time and it won’t appear again. So, open Task Manager, right-click on Cxuiusvc Service and click End Task. After ending the task, we can hope that Conexact doesn’t trigger them again. If this doesn’t work, restart your computer and check if the issue persists.
2] Set Cxuiusvc Service to Manual
We can also set the audio service to manual and disable it. This should do the job for you without actually stopping the audio from coming out of your speaker. So, open Services Manager by searching it out of the Start Menu and disable CxUIUScv Service, also, right-click on it, go to Properties, and set the Startup type to Manual. If you can’t find the service in question, look for Conexact or Synaptics Audio Service and do the same. Read: How do I download & install Synaptics Touchpad driver on Windows 11
3] Update Audio Drivers
Next up, you need to try to update your Audio Drivers as the issue can be a bug and an update is the only reasonable solution in that case, although, you can try to reinstall the update (we will see hereinafter), first, let us see if there is an update available. Following are the methods to update your audio drivers, pick any one of the following.
Download Driver and Optional Updates from Settings.Go to the manufacturer’s website and download the correct audio driver.Use free driver update software.Update your Audio driver from the Device Manager.
After updating the drivers, check if the issue persists.
4] Rollback Audio Drivers
If there is no update available, you can try deleting the buggy update by rolling back to the previous version. To do the same, follow the prescribed steps. A greyed-out Roll back driver buttons mean that you haven’t updated your driver in a while. This rules out the possibility of you installing a buggy update, but this doesn’t rule out the possibility of a corrupted driver.
5] Reinstall Audio Driver
Next up, we are going to reinstall Audio Driver as you may face the error in question because of a corrupted driver. To do the same, follow the prescribed steps.
We hope that these solutions will do the job for you. Also read: Download and Reinstall Realtek Audio Manager on Windows 11/10
How do I fix high CPU and RAM usage?
You may see high CPU and RAM usage because of various reasons. So, before fixing it, we got to find out why it’s happening, open Task Manager, and see which app is taking the maximum amount of RAM and CPU. If it’s an app that’s opened on your system, try altering it so that it takes fewer resources. For example, if it’s a game, try lowering the settings, if it’s a browser, try closing some tabs, you get the point. In case that doesn’t work, check our post to fix high CPU, RAM, and Disk usage.
Why is my RAM being used so much?
Your RAM is there to hold processes when they are running. As RAM is a volatile memory used to hold instructions and data of currently running programs, once that program is closed the memory will be flushed out. You may experience high RAM usage due to overcrowding of a ton of internal processes. In order to fix it, your best is to close all the redundant programs. Also Read: Fix Conexant SmartAudio HD No Sound issue for Windows 11/10.