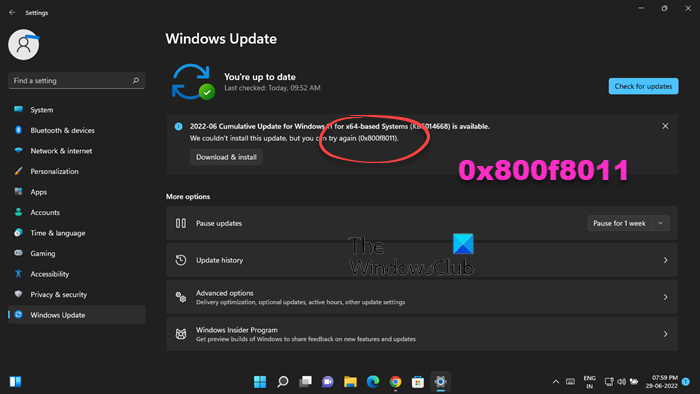
Fix Windows update error 0x800f8011
When you are facing the error 0x800f8011 while trying to install an update, it is sometimes a sign of certain files missing that are essential for the update process to go through. Alternatively, conflicting third-party antivirus software or out-of-date system drivers could also cause this issue. Let us now see what you can do to fix this problem.
1] Try installing the update manually
The solution most commonly prescribed is to look to install the update that you are facing an issue with manually. If there is something wrong with the Windows Update components or there is an absence of some system files that are a prerequisite, then manually installing the problematic update can help you bypass the problem.
Open Windows Settings and click on the Window Update tabFind out the KB number of the update that you are facing an issue with. (It is mentioned in parentheses at the end of the update’s name)Visit the Microsoft Update Catalog website and paste the said KB number in the search bar hereThis will show you updates corresponding to the KB number searched for.Click on Download, and follow the instructions given to install the update manually
Reboot your computer to finalize the installation of this update, and in this manner, you will not encounter “We couldn’t install this update, but you can try again” Error 0x800f8011.
2] Temporarily disable the third-party antivirus
If this issue turns out to be rooted in conflicting antivirus software, then disabling it should do the trick. After disabling it, you should try installing the update again and checking if it is installing seamlessly.
3] Run Windows Update troubleshooter
Microsoft offers a troubleshooting utility for Windows that is for users to fix errors pertaining to Windows Updates, and it will be of help to fix error 0x800f8011. The Windows Update troubleshooter will scan through the system files and components, and fix if there is a detectable problem. Once the process has finished, try installing the update again.
4] Reset Windows Update Components to default
If the troubleshooter was of no help, then you can reset the Update components to their default configurations. If your Windows update constantly fails to install, then resetting the Update components is your best bet. In order to initiate the process, you first have to stop the Windows Update services, and follow it by deleting qmgr*.dat files, resetting the BITS service, deleting incorrect Registry values, resetting Winsock, and bringing the Update services back. The complete process of how to reset Windows Update components is very comprehensive and requires you to be meticulous.
How do I fix Windows Update error 0x800f081f?
People often confuse the error in question with Update error 0x800F081F. This error is accompanied by the message “There were some problems installing the update” and can be fixed using the native DISM utility. The DISM tool helps detect inconsistencies within the system files and fix them as well as it.
How do I fix Windows 11 Update failed?
If you are facing issues where your Windows 11 update fails to install and it says so, it may be potentially because of both hardware and software issues. Lack of enough space for the update could cause a failure, so ensure that that’s not the case. Similarly, you should check for updated drivers, repair system files, or unplug conflicting external hardware.

