In this post, we are going to talk about this issue and see what you can do to resolve it.
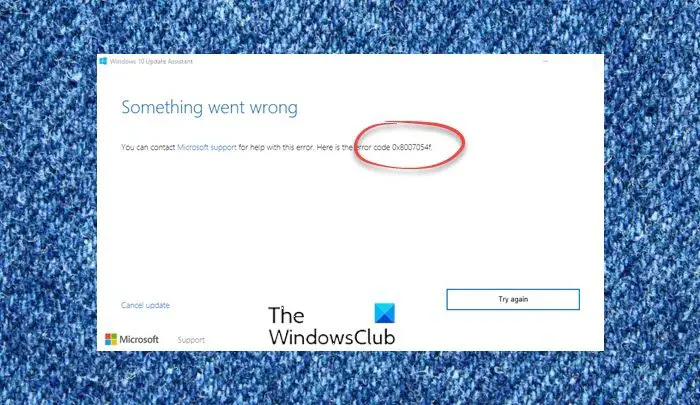
What is Error 0x8007054f?
Error 0x8007054f is a Windows Upgrade error and is caused if there are some corrupted files on your computer. Usually, it’s the Windows Update files that are corrupted, but sometimes, the corruption can be related to some other system files. However, they can be easily resolved using various methods. Some might work for you, some don’t. So, it would be better if you go through the solutions one by one and try to resolve your issue.
Windows Update Error 0x8007054F
If you are seeing Windows Update Error 0x8007054F when using the using Windows Update Assistant, try the following solutions: Let us talk about them in detail.
1] Run Windows Update Troubleshooter
Let us start by running Windows Update Troubleshooter and see if it can detect and fix the cause of the problem. It is a built-in tool, that when deployed can not scan and repair the issue. To run the troubleshooter, follow the prescribed steps. Windows 11
Open Settings from the Start Menu.Click System > Troubleshoot > Other troubleshooters.Look for the Windows Update troubleshooter, and click on the Run button.
Windows 10
Open Settings.Go to Update & Security > Additional troubleshooter.Click Windows Update > Run the troubleshooter.
Hopefully, this will do the job for you. If Needed: Windows Update Troubleshooter not working
2] Reset Software Distribution and catroot2 folders
SoftwareDistribution folder contains temporary files that when corrupted and cause issues for you. We are going to clear the folder and see if the issue persists. But before that, we need to stop some of the services. So, run Command Prompt as administrator and run the following commands, one at a time, and hit Enter. Now browse to the following location: Delete all the files and folders inside it. If the files are in use, restart your device. After rebooting, run the commands above again. Your Windows Store App needs to be closed. Now you will be able to delete the files from the mentioned Software Distribution folder. Now in the Command Prompt windows, type the following commands one at a time, and hit Enter: Finally, restart your computer and see if the issue persists. Now you need to clear the contents of the catroot2 folder. The SoftwareDistribution folder is not the only Windows Update component responsible for causing this issue, there are some components that require a reset. You can use FixWin to clear the Software Distribution as well as the catroot2 folder.
Just download and open the app, then go to Additional Fixes > Quick Fixes, and, click on the following buttons one after the other:
Reset Software Distribution folderReset Catroot2 folder.
Your issue should be fixed.
3] Reset Windows Update Component
Reset Windows Update Component and see if that helps you.
4] Check Windows Update Services
Open Windows Services Manager and check the Windows Update related Services like Windows Update, Windows Update Medic, Update Orchestrator Services, etc are not disabled. The default configuration on a standalone Windows 11/10 PC is as follows:
Windows Update Service – Manual (Triggered)Windows Update Medic Services – ManualCryptographic Services – AutomaticBackground Intelligent Transfer Service – ManualDCOM Server Process Launcher – AutomaticRPC Endpoint Mapper – AutomaticWindows Installer – Manual.
This will ensure that the required Services are available. Apart from the direct service, you should find the dependencies of Windows Update service and ensure if they are running or not.
5] Run SFC and DISM
You may also see the error code in question if the system files are corrupted. There are various factors that can corrupt the system files, but, you can easily repair the files using SFC command or DISM Tool. Launch Command Prompt as an administrator and run the following commands. If that doesn’t work, then try the next command. After executing the command, restart your computer, and retry updating your system or running the Windows Update Assistant.
7] Run Windows Update in Clean Boot
You may also see the error code in question if your update component is interfered by a third-party application. You should perform Clean Boot and try downloading the update or running the Windows Update Assistant. If you are able to install the update, manually enable updates one by one and you will stumble upon the culprit, just remove that program and your issue will be fixed. Hopefully, this will do the job for you.
How do I fix a Windows Update that won’t update?
If Windows is not installing the updates, no matter what, then there are several steps you can take to fix the problem. First, try running the Windows Update Troubleshooter to detect and fix common issues. If that doesn’t work, you can reset Windows Update components by stopping the Windows Update service, deleting the contents of the “Software Distribution” folder, and then restarting the service Also read Windows Update Error 0x80246001.