Why is my DTS not working?
Your DTS may not work if there is some issue with the driver. Usually, the driver gets corrupted because of various reasons, or it may go missing. Whatever the case is, it will stop DTS:X Ultra from functioning. We have curated a list of solutions for you related to both its drivers and other stuff that may help you.
Fix DTS:X Ultra not working on Windows 11/10
If DTS:X Ultra is not working on your computer, try the following solutions. Let us talk about them in detail.
1] Download the latest Drivers
As mentioned earlier, the issue is related to drivers. So, this solution requires you to download the appropriate driver for your DTS device. Visit microsoft.com and search for and download DTS APO4x and DTS APO4x Service. Then, install the downloaded files and the driver will be added.
2] Try using a different driver
This may not be a solution, but it is a workaround until an update is available. What we are going to do is switch to a different driver, a more generic one, and see if that helps. The audio quality may not be as good as it was on the DTS driver, but it will allow your speakers to work if there were not working previously. Follow the prescribed steps to do the same. After installing the correct driver, check if the issue persists.
3] Run Playing Audio Troubleshooter
Next up, let us put some burden on your OS to fix the issue. We are going to run the Playing Audio Troubleshooter and allow it to scan and repair the issue. Follow the given steps to do the same. Windows 11
Open Settings from the Start Menu.Click System > Troubleshoot > Other troubleshooters.Look for the Playing Audio troubleshooter, and click on the Run button.
Windows 10
Open Settings.Go to Update & Security > Additional troubleshooter.Click Playing Audio > Run the troubleshooter.
Follow the on-screen instructions to troubleshoot the issue. Hopefully, this will do the job for you.
4] Update Windows and its drivers
DTS:X Ultra may not work on your computer because of a bug in the OS or the drivers. Use any of the following methods to update your audio driver:
Download Driver and Optional Updates from Settings.Go to the manufacturer’s website and download the correct DTS: X audio driver.Use free driver update software.Update your Audio driver from the Device Manager.
After updating the drivers, check if the issue persists.
5] Reset or Repair DTS:X Ultra App
The service may also stop working if its app is corrupted or misconfigured. In this solution, we are going to first repair DTS:X App and if that doesn’t work, we will go and reset it. Here is how to do the same.
Launch Settings.Go to Apps > Apps & Features.Look for DTS: X Ultra.For Windows 11: Click on the three vertical dots and select Advanced Options.For Windows 10: Click on the app and select Advanced Options.Click on Repair.
If repairing doesn’t work, look for the Reset button in Advanced Options and click on it. Also read: Fix Sound and Audio problems and issues in Windows 11/10.
6] Update using Media Creation Tool and then stop updates
If nothing works, then you have to wait for an update. However, in the meantime, you can upgrade using Media Creation Tool and then stop updates for a while. Once a fix is available in a form of an update, just install it and your issue will be resolved. Hopefully, these solutions will do the job for you.
How do I turn on DTS X Ultra?
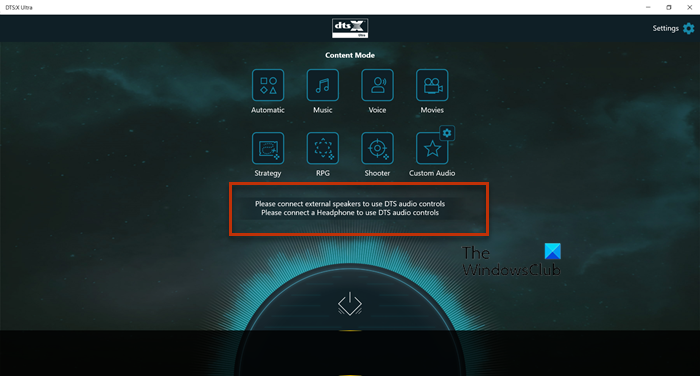
You can turn on DTS X Ultra using its app. So, search out “DTS:X Ultra” from the Start Menu, and on its homepage, click on the Power button. This will turn on its feature. You can also, control the DTS’s settings from the app itself.