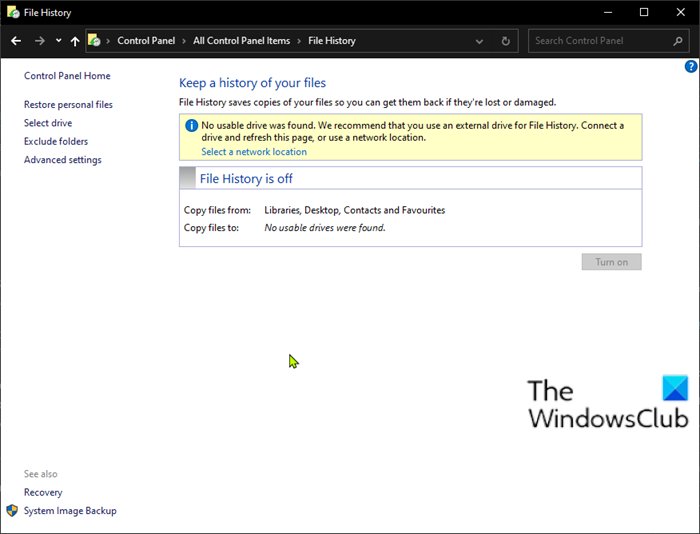
File History is Windows 10’s main backup tool, originally introduced in Windows 8. Despite the name, File History isn’t just a way to restore previous versions of files–it’s a fully-featured backup tool. After you set up File History, you can just connect an external drive to your computer and Windows will automatically back up your files to it. File History feature replaces Backup and Restore in previous versions of Windows and currently exists in Windows 8/8.1/10 – an application that continuously backs up the files in your Libraries, on your Desktop, in your Favorites folders, and in your Contacts folders. It defaults to doing this on an hourly basis as long as the File History device, typically an external hard drive, is attached. It will not erase files and folders previously saved to the drive, as it stores everything in a top-level folder named FileHistory.
Date doesn’t change after File History backup is completed
If you’re faced with this issue, you can try our recommended solutions in the order presented below to resolve the issue. Let’s take a look at the description of the process involved concerning each of the listed solutions.
1] Run SFC and DISM scan
If you have system file errors, you may encounter the Date doesn’t change after File History backup is completed issue. The SFC/DISM is a utility in Windows that allows users to scan for corruptions in Windows system files and restore corrupted files. For the purposes of ease and convenience, you can run the scan using the procedure below.
Press Windows key + R to invoke the Run dialog.In the Run dialog box, type notepad and hit Enter to open Notepad.Copy and paste the syntax below into the text editor.
Save the file with a name and append the .bat file extension – eg; SFC_DISM_scan.bat.Repeatedly run the batch file with admin privilege (right-click the saved file and select Run as Administrator from the context menu) until it reports no errors.Restart your PC.
On boot, check if File History reflects the most recent backups. Else, proceed with the next solution.
2] Reset File History to default settings
Resetting this feature to default will not remove your files stored on a drive configured for File History. They will remain stored in the FileHistory folder in the root folder of the drive. To reset File History to default settings in Windows 10, do the following:
Press Windows key + R to invoke the Run dialog.In the Run dialog box, type control and hit Enter to open Control Panel.In Control Panel (View by: Large icons), locate and click File History.If you have enabled File History, click Turn off.
You can now exit the File History applet.
Next, open the Run dialog again and copy and paste the directory path below and hit Enter.
Now, press CTRL + A to highlight all folders/files present in the directory.Tap Delete key on your keyboard.
That’s it! The File History configuration will be removed. You can now proceed to recreate File History backup per your requirement. Going forward, you shouldn’t encounter this issue on Windows 10. Note: File History ignores files that are in use when applications are open, such as Outlook .pst files if Outlook is open. To back up all files, shut down all programs, and use the Run now option in File History to manually update the file history OR do a traditional drag-and-drop backup. It’s recommended that you verify your backups. Related read: How to reset Windows Backup and Restore to Default in Windows 10.