Customize Context Menu of BitLocker Encrypted Drives
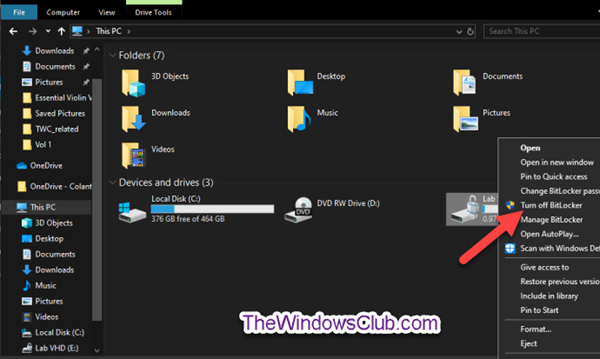
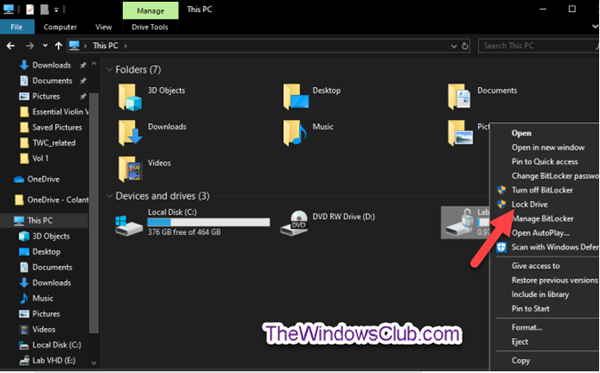
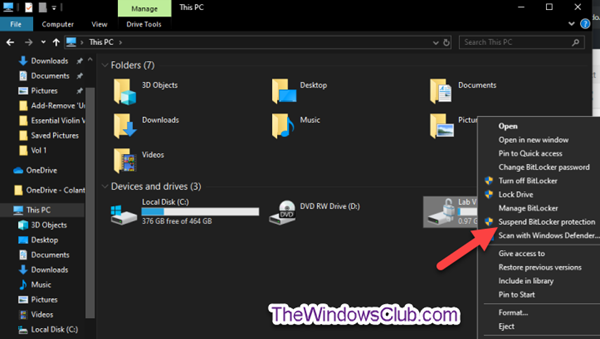
The BitLocker encrypted drives context menu commands we will be adding or removing are:
Turn BitLocker on or offManage BitLockerLock or Unlock DriveSuspend or Resume BitLocker Protection.Change BitLocker Password.
It is recommended that you create a system restore point before you proceed. Moreover, you must be signed in as an administrator to be able to add or remove the context menu items.
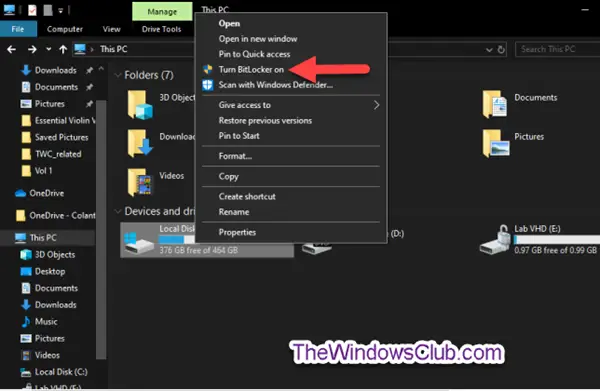
1] Add/Remove Turn BitLocker on
You can add or remove the Turn on BitLocker context menu from all fixed, OS, and removable drives for all users in Windows 10. To Add: To Remove: To remove the context menu item, simple double-click on the specific reg file which removes those entries. When you remove the Turn on BitLocker context menu, it will also gray out the BitLocker button in the Drive Tools Manage tab of the ribbon. You will still be able to turn on BitLocker for a drive from the Control Panel.
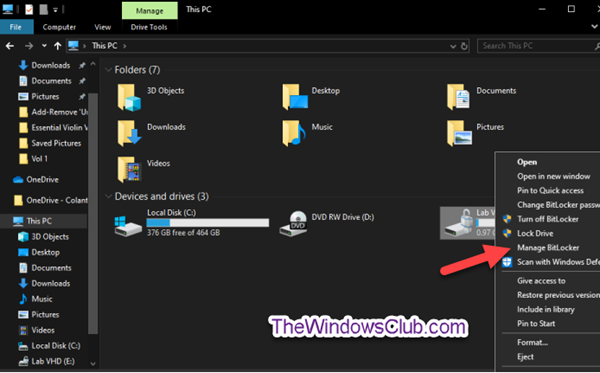
2] Add/Remove Manage BitLocker
You can add or remove the Manage BitLocker context menu from all unlocked drives encrypted by BitLocker for all users in Windows 10. The procedure involved is the same as mentioned above. You just need to make sure that you are using the appropriate Reg files to add or remove this entry.
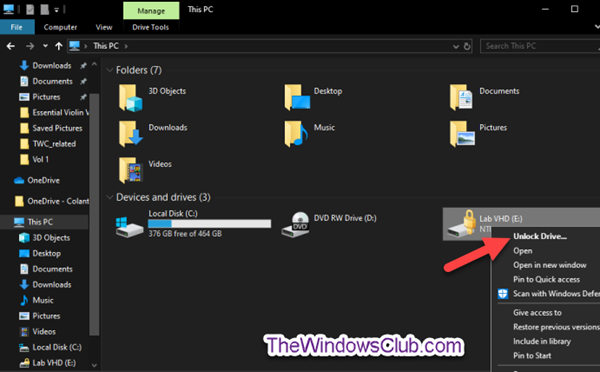
3] Add/Remove Unlock Drive
You can add or remove the Unlock Drive context menu from locked drives encrypted by BitLocker for all users in Windows 10. The procedure involved is the same as mentioned above in No 1. You just need to make sure that you are using the appropriate Reg files to add or remove this entry.
4] Add/Remove Resume BitLocker Protection
You can add or remove the Resume BitLocker protection context menu from all suspended drives encrypted by BitLocker for all users in Windows 10. The procedure involved is the same as mentioned above in No 1. You just need to make sure that you are using the appropriate Reg files to add or remove this entry.
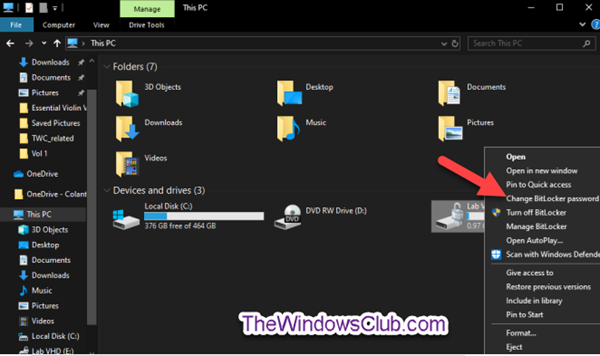
5] Add/Remove Change BitLocker Password
You can add or remove the Change BitLocker password context menu from all drives encrypted by BitLocker for all users in Windows 10. The procedure involved is the same as mentioned above in No 1. You just need to make sure that you are using the appropriate Reg files to add or remove this entry. When you remove the Change BitLocker password context menu, it will also gray-out Change password/PIN in the BitLocker button drop menu in the “Drive Tools” Manage tab of the ribbon. You will still be able to change the BitLocker password for a drive from the Control Panel.
6] Add/Remove Turn off BitLocker
You can add or remove a Turn off BitLocker context menu for all fixed, OS, and removable drives encrypted by BitLocker for all users in Windows 10. When you turn off BitLocker for a drive encrypted by BitLocker, it will completely decrypt the drive. You must be signed in as an administrator to be able to add, use, or remove the ‘Turn off BitLocker’ context menu. The procedure is a bit different here. To Add: To Remove:
7] Add/Remove Lock Drive
The procedure here is as follows. To Add: To Remove:
8] Add/Remove Suspend BitLocker protection
You can temporarily suspend or pause BitLocker protection whenever you like, for an unlocked drive encrypted by BitLocker. When you suspend BitLocker protection, it will remain unlocked and unprotected until you either manually resume BitLocker protection for the drive. You can add or remove Suspend BitLocker protection to the context menu of all unlocked drives encrypted by BitLocker for all users in Windows 10. The procedure here is as follows. To Add: To Remove: You can download all the Registry files & VBS files that remove or add these context menu items by clicking here: This is how you can easily add or remove commands to the context menu of BitLocker encrypted drives in Windows 10.
