Create System Image using PowerShell in Windows 11/10
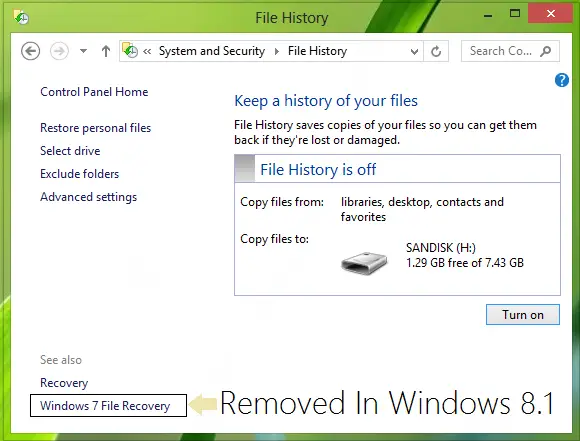
Why did Microsoft Remove the System Image feature? The reason behind the removal of Windows 7 File Recovery, which we could have used for complete backup or creation of a system image is that Microsoft felt that Windows 7’s backup tools were considered deprecated. That’s why with Windows 8.1, these deprecated tools are no longer present. Another strong reason could be that Microsoft wants to let users completely rely on File History feature – a simple backup solution introduced in Windows 8. Moreover, from the Advanced startup options menu, the “System Image Recovery” option has been removed as well.
So if you’re still looking to create a full system image in Windows 11/10, then you will surely need to use third-party imaging software. Meanwhile, there is still a way using which you can create a full backup of your Windows 11/10 – the same as you do while using Windows 7 File Recovery in Windows 7 or Windows 8. You will need to use PowerShell for this. Read: How to validate Windows System Backup Image
Create System Image using PowerShell
- Open the Windows PowerShell as administrator. To create a System Image in Windows 11/10/8.1 using PowerShell, you will have to run the Wbadmin command.
- Copy the following command, right click inside the Powershell window and paste it, then press Enter:
Here E: is the target drive where you’re going to save the system image, and C: is the system root drive where Windows is currently installed. Change these variables according to your conditions. 3. To extract the created system image, starting over from Windows 8 USB installation media, select advanced startup or open run and copy: In this way, you can avoid third-party tools in creating system images by using this procedure instead. Hope you find the article helpful! Read: How to restore or create System Image in Windows.