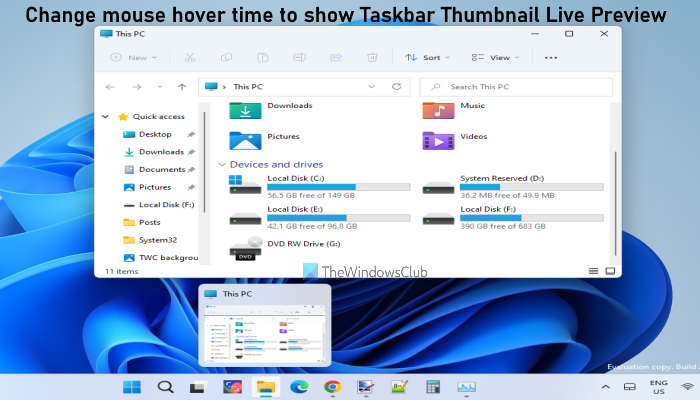
The default time to show the live preview of an application using its taskbar thumbnail is 0. But you can change this time duration to say 100 milliseconds, 1000 milliseconds (1 second), 2000 milliseconds, etc., with a simple Registry tweak. The higher the value, the longer will be the delay time to show the live preview.
Change mouse hover time to show Taskbar Thumbnail Live Preview
Before you give a try to this Registry tweak, we advise you to backup Windows Registry. This will help you undo the changes if things are messed up. Also, do note that keeping a very long delay time will disable this feature. Moreover, this tweak will not work if you have disabled the peek preview (or show desktop) feature. In that case, you first need to enable Aero Peek at desktop (if using Windows 10 OS) or turn on show desktop on the taskbar (if using Windows 11 OS), and then you can try this tweak. Here are the steps: Let’s see all these steps in detail. First of all, you need to open the Windows Registry key. For this, open the Search box of your Windows 11/10 computer, type regedit, and hit the Enter key. In the Windows Registry Editor window, click on the Advanced key. To do this, use the following path:
Now, on the right-hand section of the Advanced Registry key, create a ThumbnailLivePreviewHoverTime DWORD value. You can create it by right-clicking on an empty area, accessing the New menu, and clicking on the DWORD (32-bit) Value option. A new DWORD value will be created. Just rename it to ThumbnailLivePreviewHoverTime.
Now, you need to edit this DWORD (32-bit) value so that you can set the delay time for the live preview. For this, double-click on the ThumbnailLivePreviewHoverTime value. A small box will pop up. In that box, first, select the Decimal option available under the Base section. After doing that, enter the delay time in the Value data text field. Enter a value like 100, 200, 1000, or something else as per your requirement.
Press the OK button. Finally, you have to sign out and then sign in to your Windows 11/10 computer. Now when you will place the mouse cursor on the thumbnail preview of an application (like File Explorer, Notepad, etc.), you will notice the delay time for live previewing that particular application. To set the taskbar thumbnail live preview to the default delay time, repeat the above steps, and add 0 in the Value data text field of the ThumbnailLivePreviewHoverTime DWORD value. Press the OK button and sign out and sign in to your computer to save the changes.
How do I disable the Windows 10 taskbar hover preview?
By default, taskbar thumbnail preview remains enabled for all the opened applications on Windows 10 as well as Windows 11 OS. When you place the mouse cursor on the taskbar icon of a minimized application, its thumbnail preview is visible. If you don’t want to see it, then you can turn off or disable the taskbar thumbnail preview (or taskbar hover preview) on your Windows 11/10 computer using three different options. These are:
How do I fix the taskbar not showing preview?
Though the taskbar thumbnail preview works fine, some users face the issue that the taskbar thumbnail preview is not working for the opened applications on their Windows 11/10 computers. If you are also facing this issue, then some solutions can be tried to fix it. You can try fixes like running SFC scan, enabling taskbar thumbnail preview using Advanced system settings or Registry, etc. If that doesn’t work, then you should perform system restore (if you have created any) to solve this problem. Hope it is helpful. Read next: How to increase Taskbar Thumbnail Preview size in Windows.

