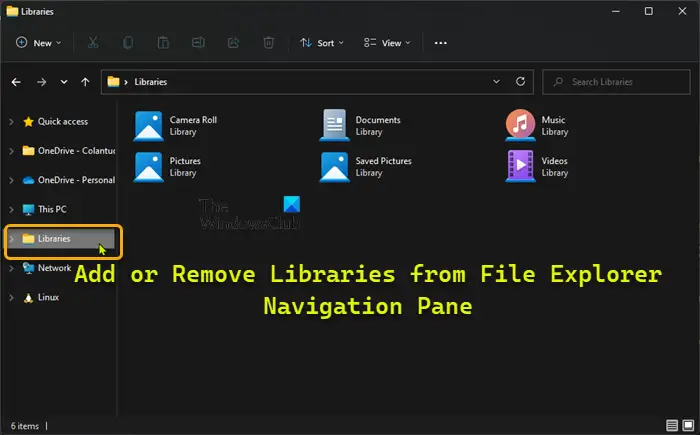
Add or Remove Libraries from File Explorer Navigation Pane
Libraries present a simpler and granular view of your PC underlying storage system. This means the user, the files and folders in a library are displayed in one single view location regardless of the actual physical location of the folder. You can configure Libraries to contain folders that are locally stored on your computer and also folders that have been shared over a network. Libraries are located in the hidden %AppData%\Microsoft\Windows\Libraries folder. Libraries will always show in the navigation pane if you enable Show all folders in the navigation pane. We can add or remove Libraries from File Explorer Navigation Pane in Windows 11/10 in 3 quick and easy ways. We’ll explore this topic under the methods outlined below in this section as follows:
1] Via File Explorer
To add or remove Libraries from File Explorer Navigation Pane in Windows 11/10 via File Explorer, do the following:
Press Windows key + E to open File Explorer.Right-click or press and hold on an empty area inside the navigation pane.Click/tap on Show libraries to toggle add (checked) or remove (unchecked – default) per your requirement.Exit File Explorer when done.
2] Via Folder Options
To add or remove Libraries from File Explorer Navigation Pane in Windows 11/10 via Folder Options, do the following:
Open Folder Options.Click/tap on the View tab.Under the Navigation pane section, check (add) or uncheck (remove – default) Show libraries per your requirement.Click/tap on Apply > OK.
3] Via Registry Editor
Since this is a registry operation, it is recommended that you back up the registry or create a system restore point as necessary precautionary measures. To add Libraries to File Explorer Navigation Pane in Windows 11/10 via Registry Editor, do the following:
Press Windows key + R to invoke the Run dialog.In the Run dialog box, type notepad and hit Enter to open Notepad.Copy and paste the code below into the text editor.
Now, click the File option from the menu and select Save As button.Choose a location (preferably desktop) where you want to save the file.Enter a name with .reg extension (eg; AddLibFENP.reg).Choose All Files from the Save as type drop-down list.Double-click the saved .reg file to merge it.If prompted, click on Run > Yes (UAC) > Yes > OK to approve the merge.You can now delete the .reg file if you like.
To remove Libraries from File Explorer Navigation Pane in Windows 11/10 via Registry Editor, do the following:
Open Notepad.Copy and paste the code below into the text editor.
Repeat all the same steps as above, but this time, you can save the reg file with .reg extension (eg; RemoveLibFENP.reg).
Alternatively, you can manually add or remove the registry key. Do the following:
Press Windows key + R to invoke the Run dialog.In the Run dialog box, type regedit and hit Enter to open Registry Editor.Navigate or jump to the registry key path below:
At the location, on the right pane, double-click the System.IsPinnedToNameSpaceTree entry to edit its properties.Input 1 (to add) or 0 (to remove) in the Value data field per your requirement.Click OK or hit Enter to save the change.Exit Registry Editor.Restart your PC.
That’s it on how to Add or Remove Libraries from File Explorer Navigation Pane in Windows 11/10!
Add or Remove specific Library folder from Libraries in File Explorer Navigation Pane
To add or remove specific Library folder from Libraries in File Explorer Navigation Pane in Windows 11/10, do the following:
Open File Explorer.Under Libraries, right-click or press and hold on the library folder you want to add or remove.On the context menu, click/tap on Properties.Now, under Attributes, check (add – default) or uncheck (remove) the Show in navigation pane option per your requirement.Click on Apply > OK.
Keep in mind that if you remove a library from showing under Libraries in the navigation pane of File Explorer, the action will not remove the actual library from Libraries. Related post: Add or Remove Linux from File Explorer Navigation Pane in Windows
How do I edit the Navigation Pane in Explorer?
To edit the navigation pane in Windows 11/10, press the Windows key + E hotkey to open Windows Explorer. Click the View tab. Click the Navigation pane button in the ribbon. In the drop-down menu, you can click to check or uncheck the “Navigation pane” option.
How is a File Folder and Library related?
A library is a reference to one or more folders on your computer and the files found inside those folders. For example, you can have documents stored in multiple locations like your Documents folder, on the desktop and some other locations.
How to unlink Documents folder from OneDrive?
Open OneDrive > SettingsClick on the Unlink tab
If you wish to redirect it to some other folder, configure your account again, and when the wizard asks you for the location, point to the folder you want. You will see these settings here:
Open OneDrive > SettingsOpen the Auto Save tabChoose where you want to save your desktop, documents and pictures from the drop-down menu options.
Hope this helps.