In this post, we will talk about the same error and see what you can do to resolve it. So, if you see A JNI Error Has Occurred in Minecraft try the solutions mentioned here.
What is meant by JNI error?
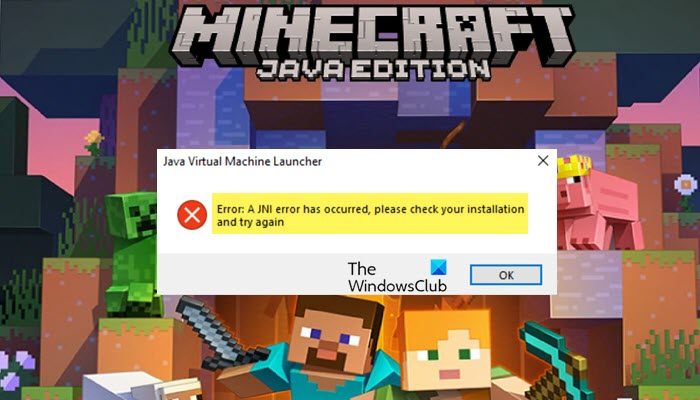
JNI error indicates that the application can not run the code associated with the native method. It is usually caused when the JDK or JRE is missing or is unable to be loaded. This error occur in Minecraft Java Edition which is known for these kinds of issues. However, in Minecraft’s case, missing JDK or JRE is not the only reason, if the path variable is broken, or there is a third-party app that’s interfering with your game, then also, you can see the error code in question. If you want to resolve this issue check the solutions mentioned in this post.
Fix A JNI error has occurred in Minecraft
To fix Minecraft Error A JNI error has occurred, please check your installation and try again on Windows 11/10 PC, follow these suggestions: Let us talk about them in detail.
1] Install the latest version of Java JDK
Let us start by installing the latest version of Java JDK. This issue was reported by users who were trying to launch Minecraft or its server on systems with no Java (16 or above). So, let us start by installing the latest version of the tool on your system and see if it helps. But before that, close Minecraft, open Task Manager, check if there are any related tasks running in the background, and close them as well. Follow the prescribed steps to install the latest version of Java JDK at the right location.
Go to Oracle.com and download a compressed archive file for any version of Java (16 or above) for Windows.After downloading the zip file, extract it and copy the extracted folder to the clipboard.Then, open File Explorer, go to the following location and paste the copied folder.
Once you have pasted the folder, open the Minecraft launcher.Click on the Browse button associated with Java Path.
C:\Program Files\Java\jdk-
Add the exe file of Java.Finally, save the changes you have made.
Open the game and see if the issue persists.
2] Check Java Environmental Variable
Next up, we need to make sure that there is no broken Java Environmental Variable. To do the same, we are going to check the path variables in the settings and then make the required changes. Follow the prescribed steps to do the same. Once the variable is deleted, restart your system and run Minecraft. Hopefully, this will do the job for you.
3] Troubleshoot in Clean Boot
You may also see the error code in question if there is a third-party app interfering with Minecraft. In that case, we need to perform Clean Boot and manually disable processes one at a time. This way, you will be able to find the culprit. Once you know the troublemaker, just remove it and your issue will be resolved. Bonus Tip: Since we will now have the latest version of Java, there is no point in keeping its older version. So, you should uninstall old Java versions to save some valuable space. Hopefully, these solutions will do the job for you. Read: Fix Minecraft game has crashed with Exit Code 0
How do I fix Java errors in Minecraft?
There are a lot of Java errors in Minecraft. If you see a JNI error, you can try the solutions mentioned in this post. If you see Internal Exception Java.IO.IOException then check our guide on how to fix the error. Hopefully, you will be able to resolve the issue with the solutions mentioned in that guide. Also Read: Java Virtual Machine Launcher, Could not create the Java Virtual Machine.